How to Make Homemade Yogurt
We may earn a commission from affiliate links to products on this page, at no additional cost to you. Learn more
My child loves yogurt, so serving my family homemade yogurt for breakfast has always felt pretty rewarding. And the more often I make it, the more I realize that learning how to make yogurt at home isn’t nearly as complicated as it sounds.
I prefer homemade yogurt to store-bought. I get to decide what goes into it, which milk to use, how much sugar to add, and whether I want it tangier or milder. I get to eat it fresh, and it usually costs less in the long run, too.
Today I’m sharing the full method I use for making yogurt at home. It’s an easy homemade yogurt recipe for a first batch, taking you through heating the milk, letting it cool, adding the starter, keeping it warm to culture, and chilling it. You can follow it one step at a time.
Once you’ve made this basic batch, adding fruit, making Greek yogurt, or straining it further for an extra-thick version will feel much easier. Let’s start with the basics.
What You Need to Make Homemade Yogurt
Once you get started, you’ll see that basic plain yogurt doesn’t call for special equipment, machines, or a complicated process. The two essential ingredients are milk and a starter. Sugar is optional, and you can usually use equipment you already have.
- Regular pasteurized whole milk
- Unsweetened plain yogurt with live cultures, or a freeze-dried yogurt starter culture
- Optional: sugar
Which Milk to Use
The milk you choose affects how rich and thick the yogurt turns out. For your first batch, I’d start with regular pasteurized whole milk.
You can use 2%, 1%, or even skim milk, too, though the yogurt will usually be lighter and thinner. Brand, fat content, and processing can all make a difference, so don’t worry about getting your first batch perfect. Make it once, then try different milks until you find the texture you like.
Choosing a Starter
You have two straightforward options for a starter: unsweetened plain yogurt with live cultures, or a freeze-dried yogurt starter culture.
For most first-timers, the easiest option is a small container of unsweetened plain yogurt. Check the label for live and active cultures. If it has those, you can use it as your starter. Save the fruit-flavored, vanilla, and heavily flavored yogurts for another time. Keep this first batch simple.
Packaged freeze-dried starters tell you how much to use. They are easy to store, and you can try different cultures. I use them too, especially when I don’t feel like standing in the dairy aisle turning containers around to read every ingredient list. But you don’t have to buy one. A good plain yogurt can get your first batch going just as well.
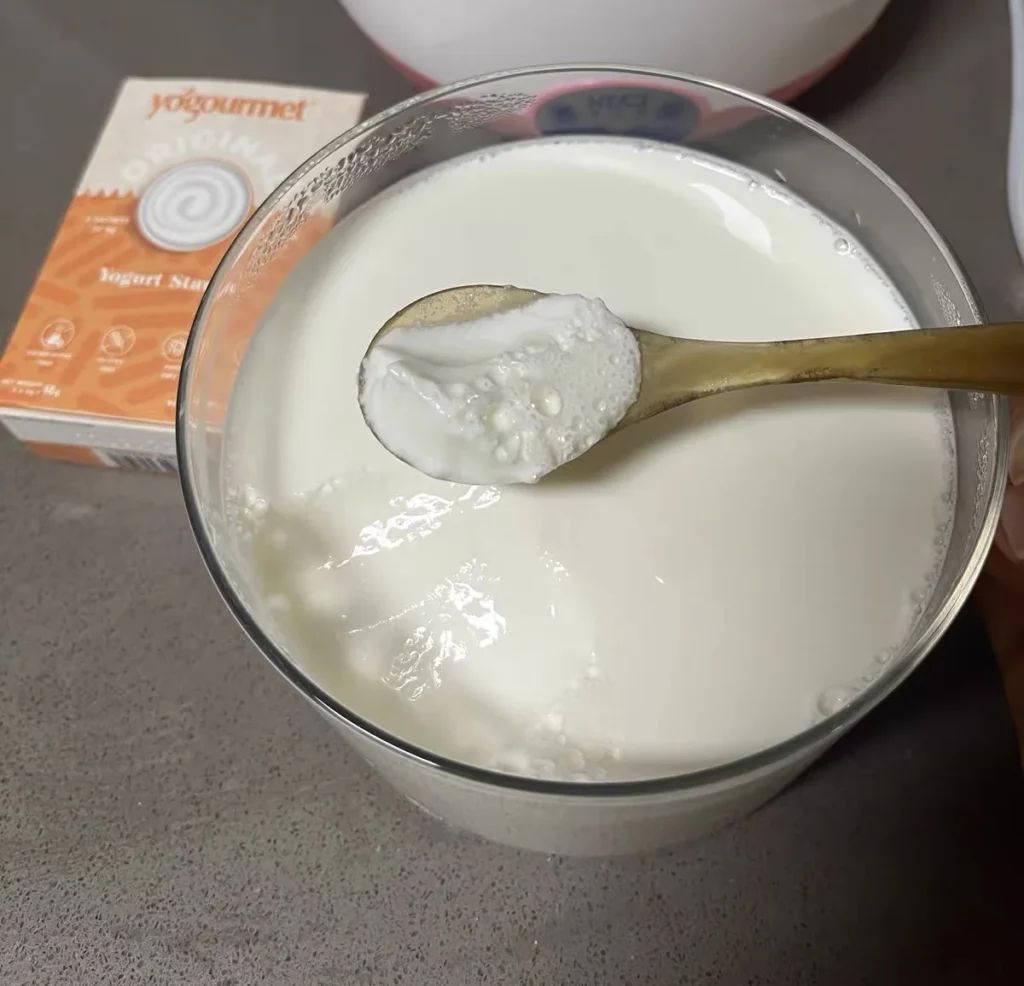
Yogourmet Yogurt Starter Culture
Freeze-dried starter for homemade yogurt
This is the freeze-dried starter I usually keep on hand for homemade yogurt. I like it when I don’t want to check labels on a cup of plain yogurt—just use it according to the package directions and keep the rest for another batch.
Basic Ingredients and Amounts
That 70 g is simply the sweetness I like, not an amount you have to copy. If you’re watching your sugar intake, you can make plain yogurt without adding any. Once you’re comfortable with the basic method, adjust the sweetness to suit you.
Adding more starter won’t necessarily give you better yogurt. When I make it, I pay more attention to whether the starter is fresh and has live cultures. Don’t rush to add it while the milk is still too hot, either. Wait until the milk has cooled to the right range.
Equipment You Need
An ordinary pot you already own is fine. If your thin-bottomed pot tends to scorch milk, though, a heavy-bottomed saucepan can make things easier, especially when the milk needs to heat slowly.
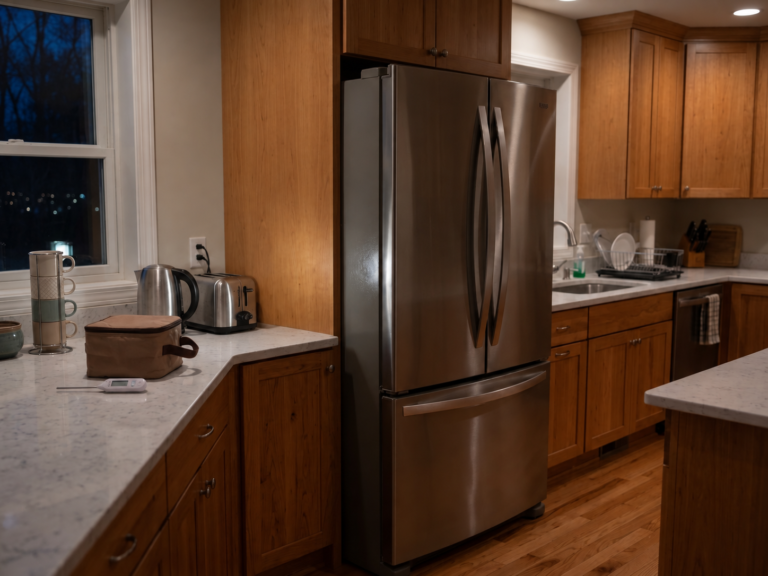
A thermometer isn’t absolutely necessary, either. With practice, you’ll get a feel for what the milk should look and feel like. For a first batch, though, an instant-read thermometer takes a lot of guesswork out of two points: when the milk has heated enough and when it has cooled enough to add the starter.
And don’t rush out to buy a yogurt maker. Your oven light, towels, an insulated cooler, a warm-water bath, or a multifunction electric pressure cooker with a Yogurt setting may be all you need. I’ll explain those options below.
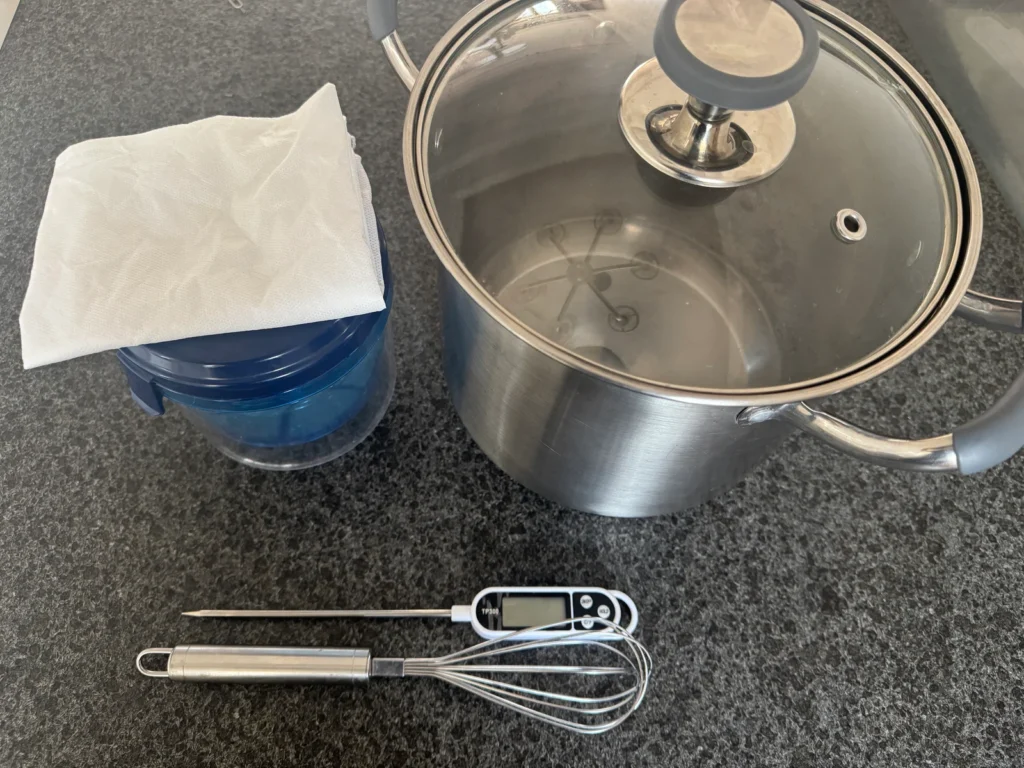
How to Make Homemade Yogurt
Before you start, thoroughly wash the pot, mixing utensils, glass jars, and spoons. I also rinse them with boiling water for peace of mind, to help keep unwanted microbes or food residue from interfering with fermentation. And don’t put a spoon back in the yogurt after it’s been in your mouth. That sounds obvious, but it’s easy to do without thinking.
Step 1: Gently Heat the Milk
Pour the milk into the pot and warm it slowly over medium-low heat, aiming for about 185°F (85°C). As it gets close and small bubbles appear around the edge, turn the heat down to low. Use the thermometer reading as your guide.
Once the milk reaches that temperature, you can hold it there over low heat for about 10 minutes. Giving it a little time at this stage usually helps the yogurt set thicker and firmer.
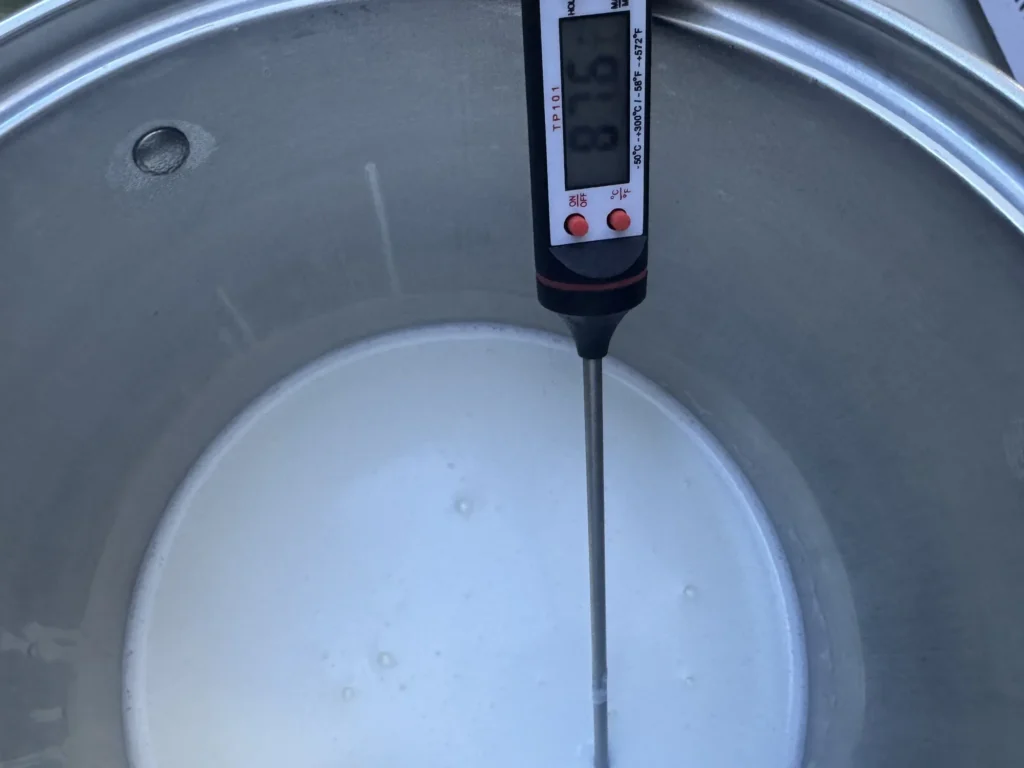
Step 2: Let the Milk Cool
Turn off the heat and let the milk cool to about 108°F (42°C). To speed things up, set the pot in a cold-water bath and stir gently a few times. Take it out as it approaches the target temperature, since the pot will continue losing heat.
Don’t skip this step. Milk that’s too hot can damage the cultures; milk that’s too cool will ferment much more slowly. Be patient here rather than turning the heat back on.
You can manage without a thermometer once you’re familiar with what “warm but not hot to the touch” feels like. For your first batch, though, I’d use one rather than guess at this point.
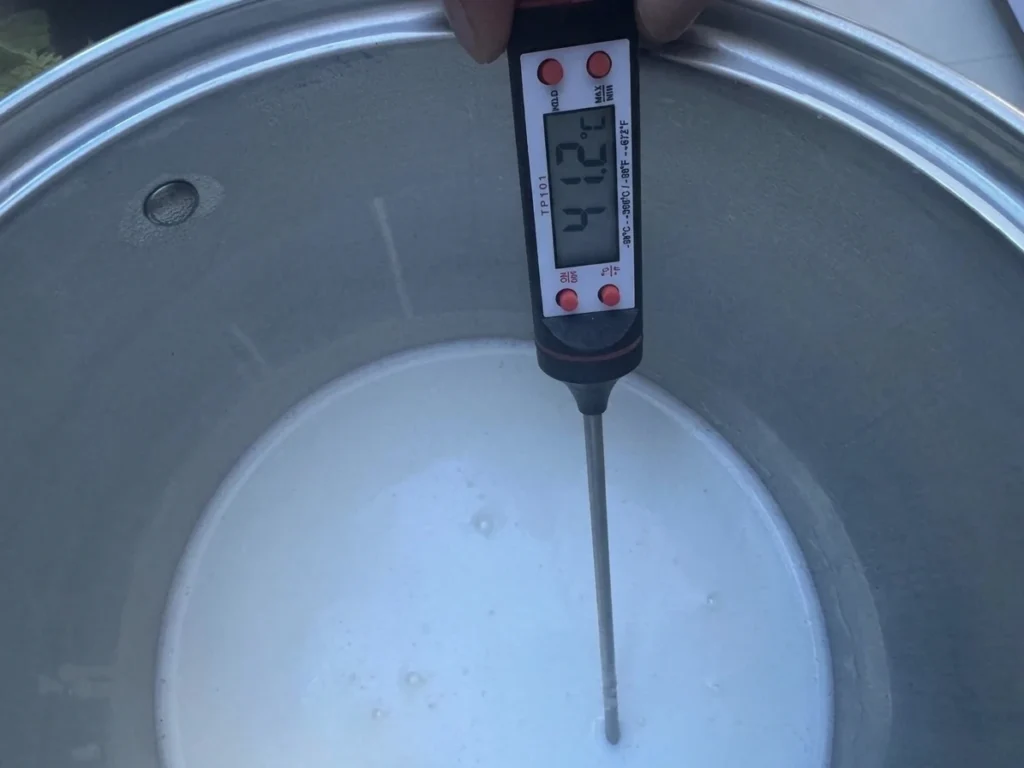
Step 3: Add the Starter
Ladle a little warm milk into a small bowl, add the plain yogurt starter, and stir gently until mostly smooth before pouring it back into the rest of the milk. If you’re using a purchased starter culture, make sure it is fully dissolved first so the finished yogurt does not turn out grainy.
If you like a little sweetness, add sugar to taste at this point. I usually add about 70 g of granulated sugar per liter of milk and stir until it dissolves completely. Again, use the amount that suits your taste.
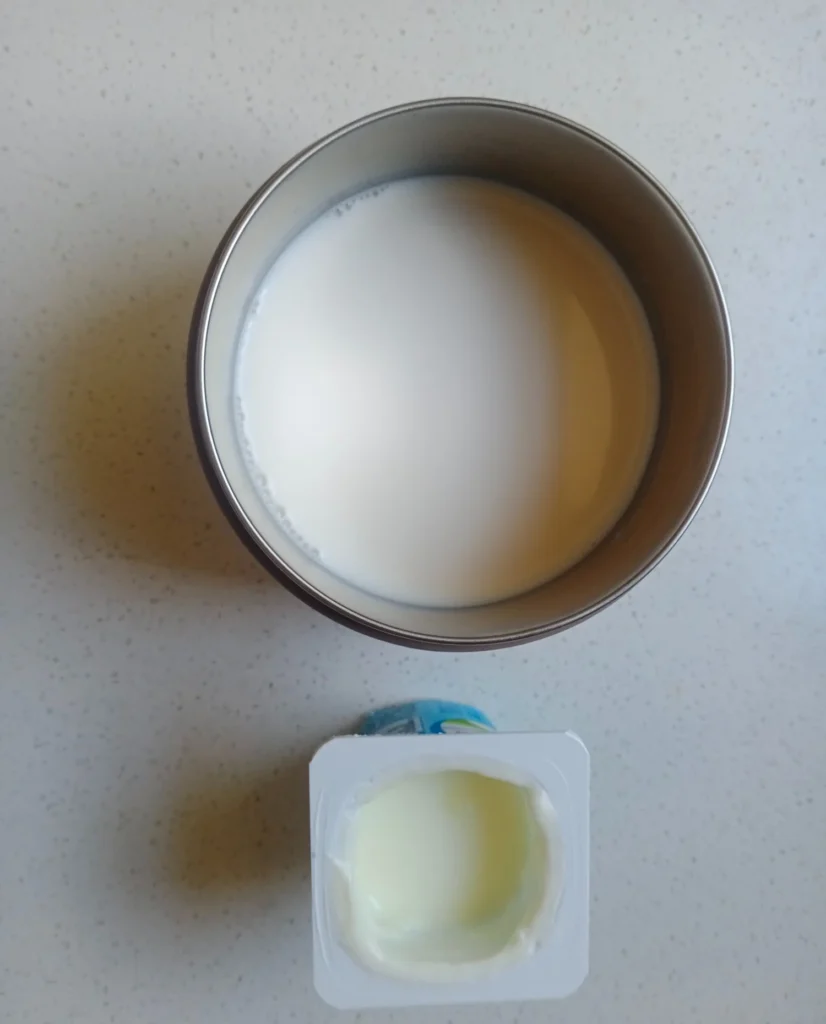
Step 4: Fill the Jars and Keep Them Warm
Pour the milk mixture into clean glass jars or a fermentation container. Before filling the jars, I usually give it a quick strain to catch any undissolved bits or anything floating on top, for a smoother finished texture. (I also pop or skim off the little bubbles on the surface so the yogurt sets with a smooth top. I’m not a perfectionist, but I like it that way.) Put the lids on. There’s less to do now: find a warm spot and leave the jars as undisturbed as possible.
My usual method is to put the jars in the oven with the heat off and only the oven light on. If the oven runs a little cool, I wrap the jars in clean towels before putting them in. The first time you try this, it’s a good idea to check the temperature inside, because oven lights really do vary—some barely warm things up, while others act like they’re ready to bake bread.
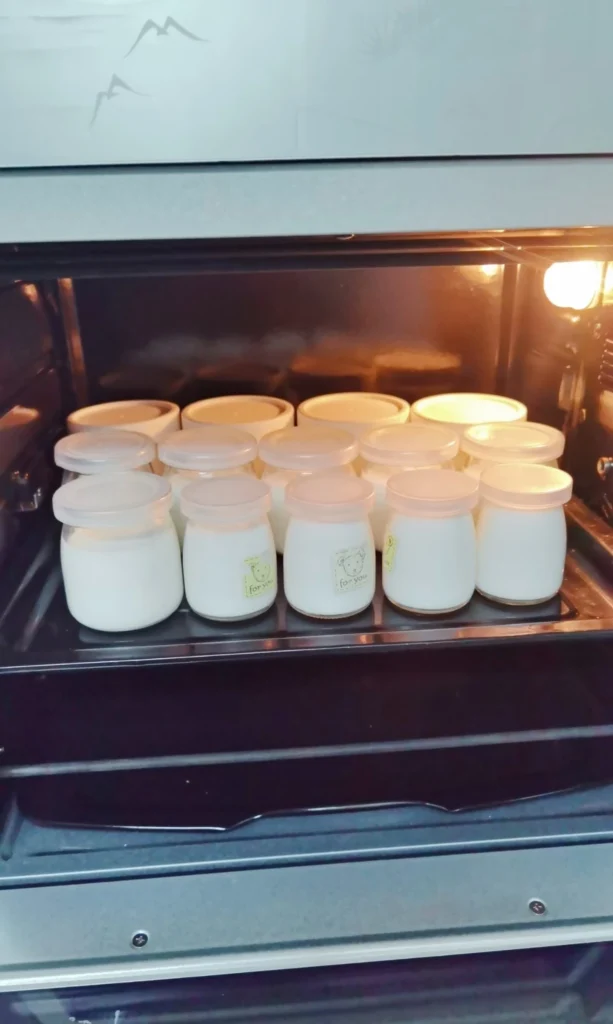
For a typical plain yogurt starter with live cultures, keep the incubation space at roughly 104–110°F (40–43°C) and start with 6–8 hours. I like the flavor at around 8 hours; the tang and texture suit me.
Once fermentation starts, try not to keep opening the jars to check. I know it’s tempting with your first batch, but watching won’t make the yogurt set any faster. Give the milk and cultures a few quiet hours.
💡NOTE: Fermentation time affects tanginess, setting, and texture, but it is not the only thing that determines thickness. Milk fat, heating, the starter culture, and chilling or straining afterward all affect the result.
Heating the milk, adding the starter, and keeping it warm to culture each involve a different temperature. A 6-hour batch can also taste different from an 8-hour one. I cover those details separately in my Yogurt Fermentation Time and Temperature Guide. For now, the ranges here are enough to get you through your first batch.
Step 5: Check That the Yogurt Has Set, Then Refrigerate
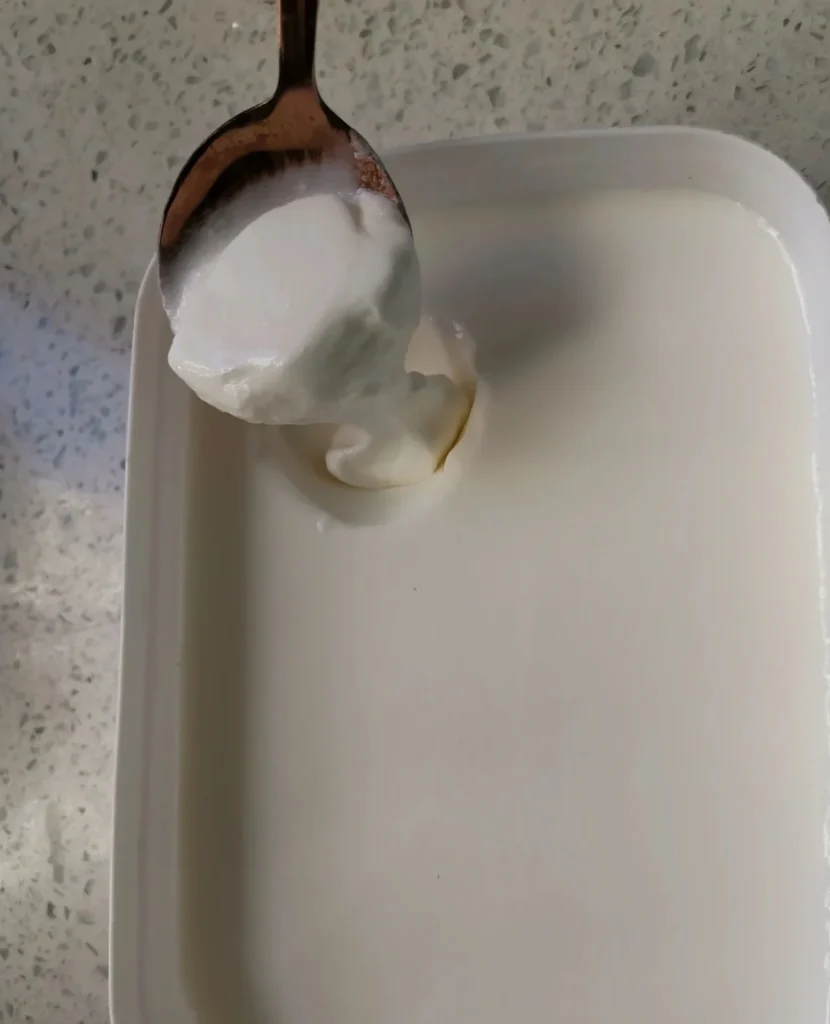
When the expected fermentation time is up, don’t immediately open the jars and stir. Give a container a gentle nudge. If the yogurt has set throughout, it should wobble softly rather than slosh around like milk. It should also smell clean and pleasantly tangy.
A little clear or pale yellow liquid on top doesn’t automatically mean the batch has failed. That’s usually whey. At this point, I’d leave it alone and put it straight in the refrigerator until the whole jar is cold.
Homemade yogurt is usually still fairly soft right after fermentation, so I don’t judge its final thickness yet. Check it after a few hours in the refrigerator; the texture will often be firmer. If it’s still noticeably thin or hasn’t set at all, use the troubleshooting section below to check what happened.
How to Keep Yogurt Warm During Fermentation
A lot of first-time yogurt makers see “keep warm to ferment” and assume they need to buy a yogurt maker first. You don’t.
The method I use above is about as simple as it gets: put the jars in the oven with the heat off and only the oven light on. If the temperature inside runs a little low, wrapping the jars in towels can help hold in more warmth.
If your oven light doesn’t work well for this, try what you already have. Wrapping the jars and putting them in an insulated cooler slows heat loss.
In colder weather, a jar of warm water beside them can help the space stay warm longer. Another option is a warm-water bath: set the yogurt jars in a larger container of warm water, then cover the outer container to hold in the heat.
You don’t have to copy any one setup exactly. Kitchens, room temperatures, and containers vary, so measure the temperature the first time you try a new method. As long as you can give the yogurt a fairly steady, warm environment, not owning a dedicated machine doesn’t have to stop you.
Slow Cooker
You can also use a slow cooker you already have at home to keep the yogurt warm.
But Low and Keep Warm settings vary a lot between models, so don’t simply transfer the oven-light method’s timing and temperatures to it. Follow the instructions to keep the fermentation temperature at around 104°F (40°C).
Multifunction Electric Pressure Cooker with a Yogurt Setting
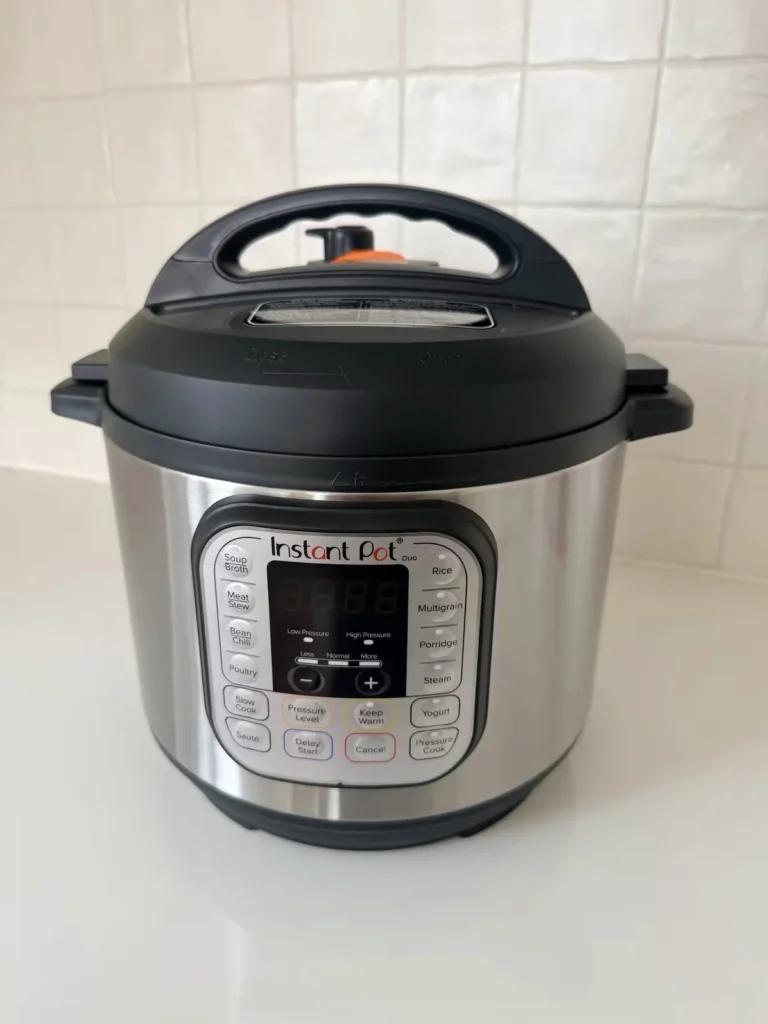
Electric Multicooker with Yogurt Setting
For everyday cooking and homemade yogurt.
If you already have a multicooker with a Yogurt setting, like the one I use at home, it can make this part much easier.
During fermentation, it can help maintain a more stable environment, so you don’t have to keep adjusting a warm-water bath or checking the oven light.
Check that your model has a Yogurt setting before using it—not every multicooker does.
Yogurt Maker
If you only make yogurt once in a while, your oven light, an insulated cooler, a warm-water bath, or a multifunction electric pressure cooker you already own can do the job just fine.
But if your kids go through yogurt all the time, a yogurt maker can be a real lifesaver. It saves a lot of time and takes a lot of the hassle out of the process—that’s been my experience at home.
How to Change the Flavor and Texture
Once you’ve made the basic yogurt, you have more options. The good news is that most variations don’t mean starting over. You make the adjustments after fermentation and chilling.
Plain Yogurt
For your first batch, I’d set aside a small bowl without adding anything else and taste it as it is. Once you know how tangy, sweet, and thick this batch is, you’ll have a better idea of what you want to adjust next time.
The simplest plain yogurt recipe is to refrigerate it after fermentation and stir it as little as possible. Add honey, nuts, oats, or fresh fruit to your bowl when you eat it.
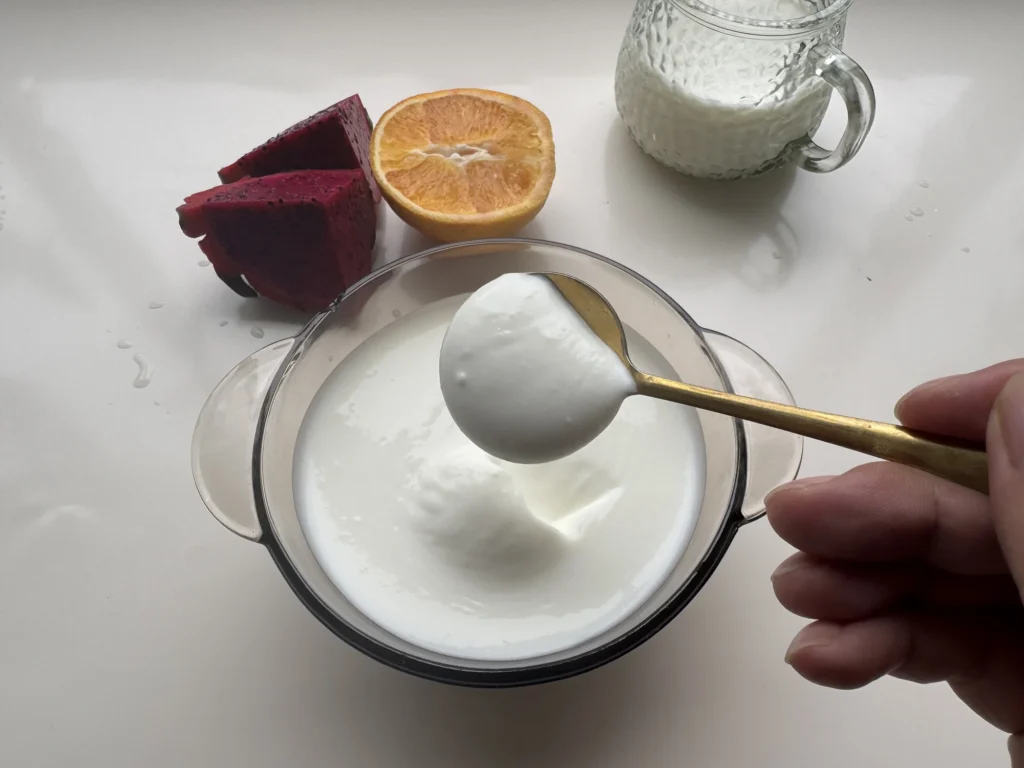
Fruit Yogurt
For fruit yogurt, I’d wait until the basic yogurt has finished fermenting and chilling before adding fruit. Chopped fresh fruit, jam, or cooled fruit puree all work. Add as much as you feel like eating.
Fruit adds moisture, though, so a large amount can thin yogurt that had already set.
Greek-Style and Extra-Thick Strained Yogurt
For a thicker texture, strain some of the whey from yogurt you have already made. The longer you strain it, the thicker it gets, but the less yogurt you have left.
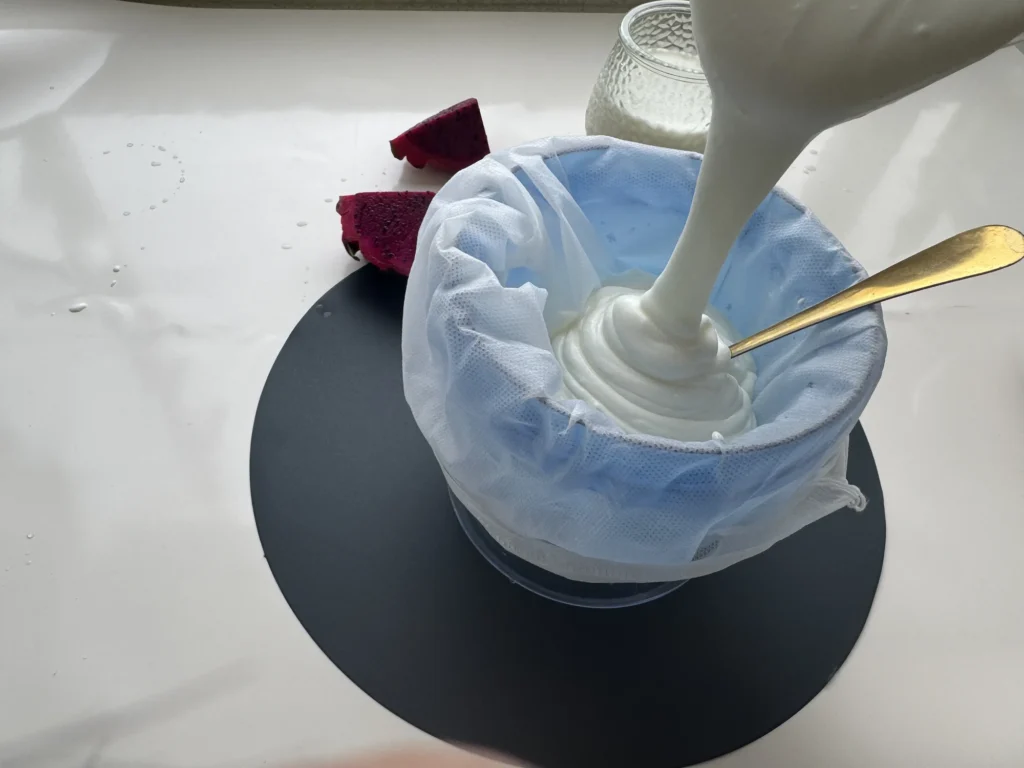
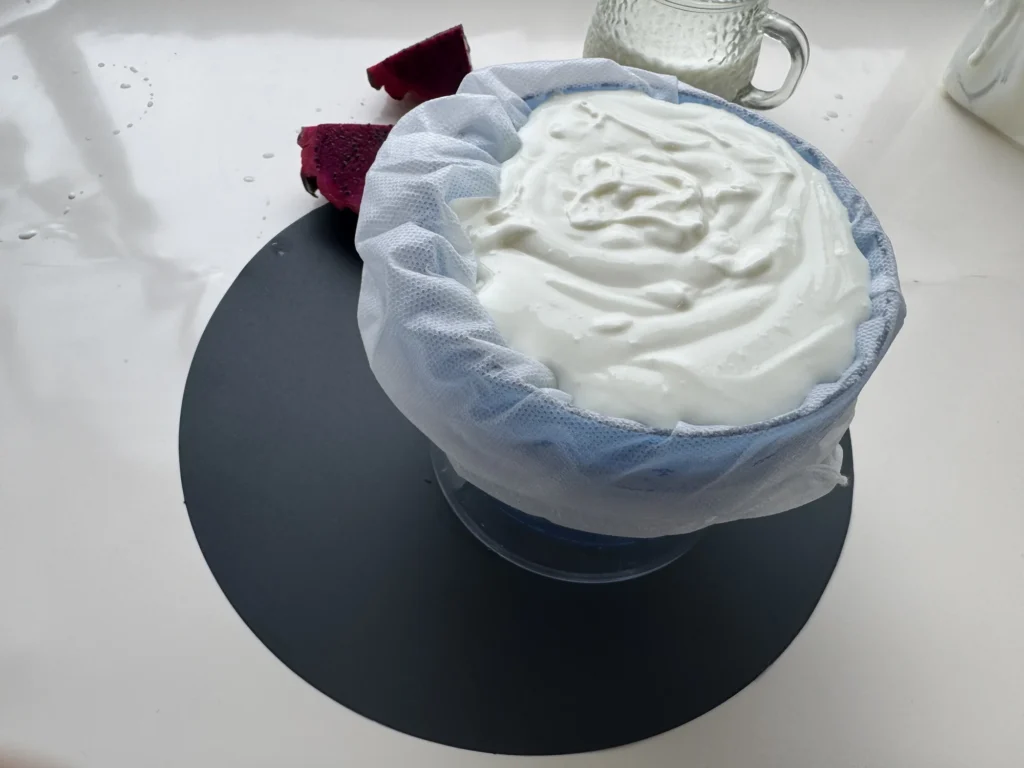
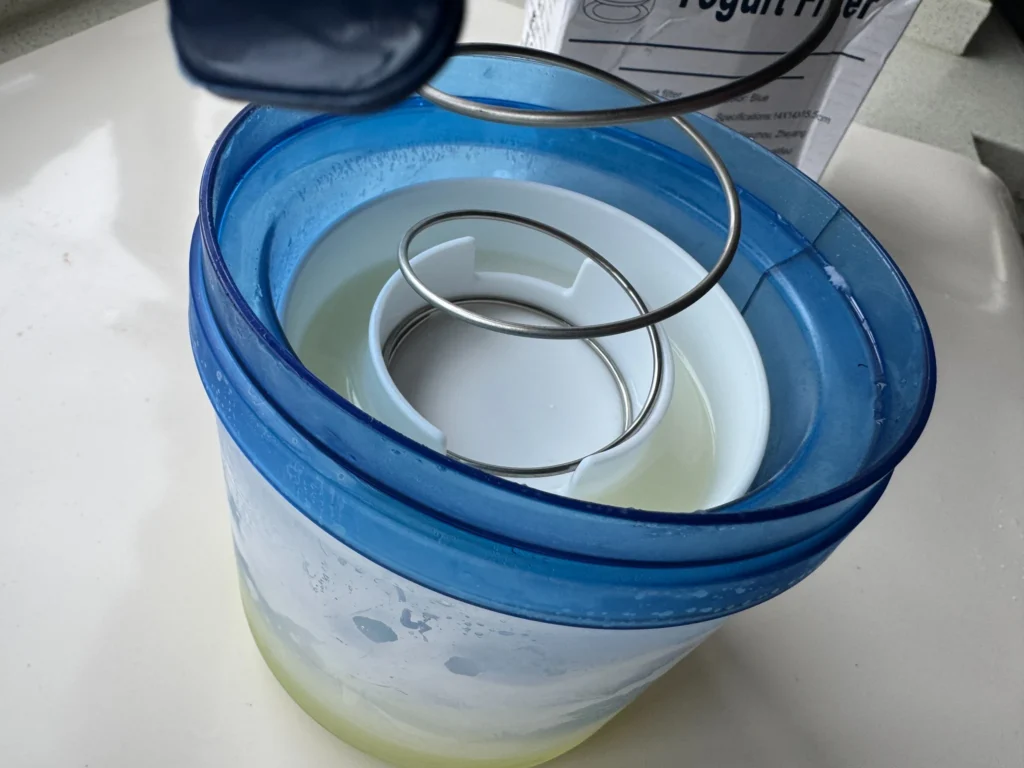
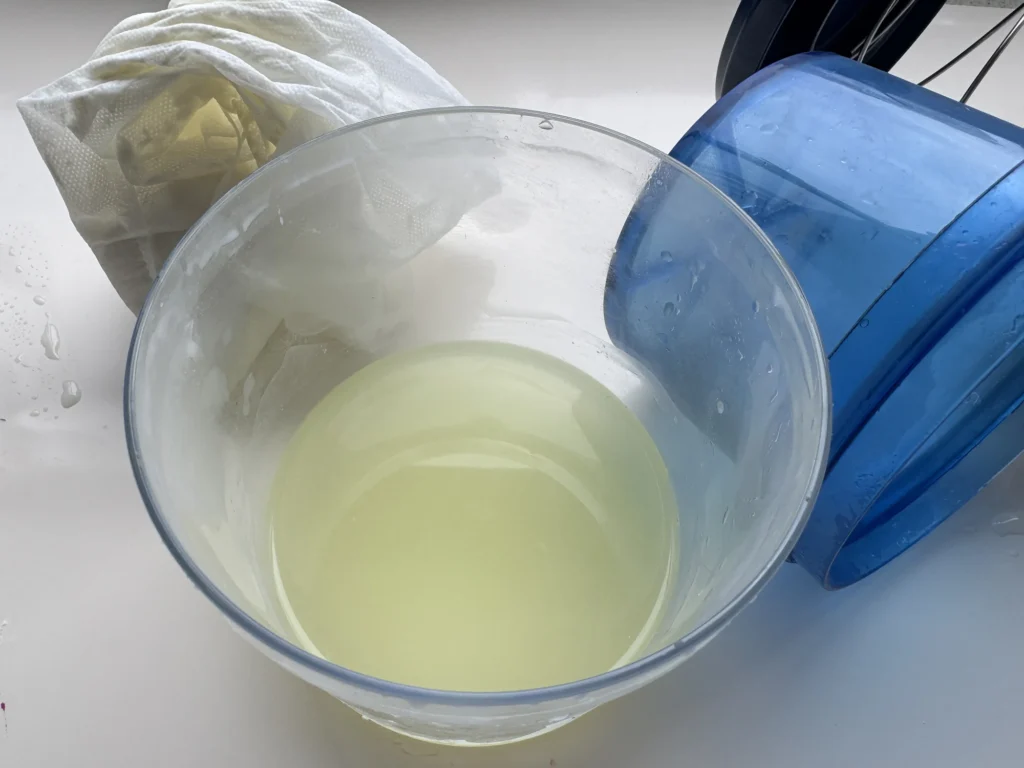
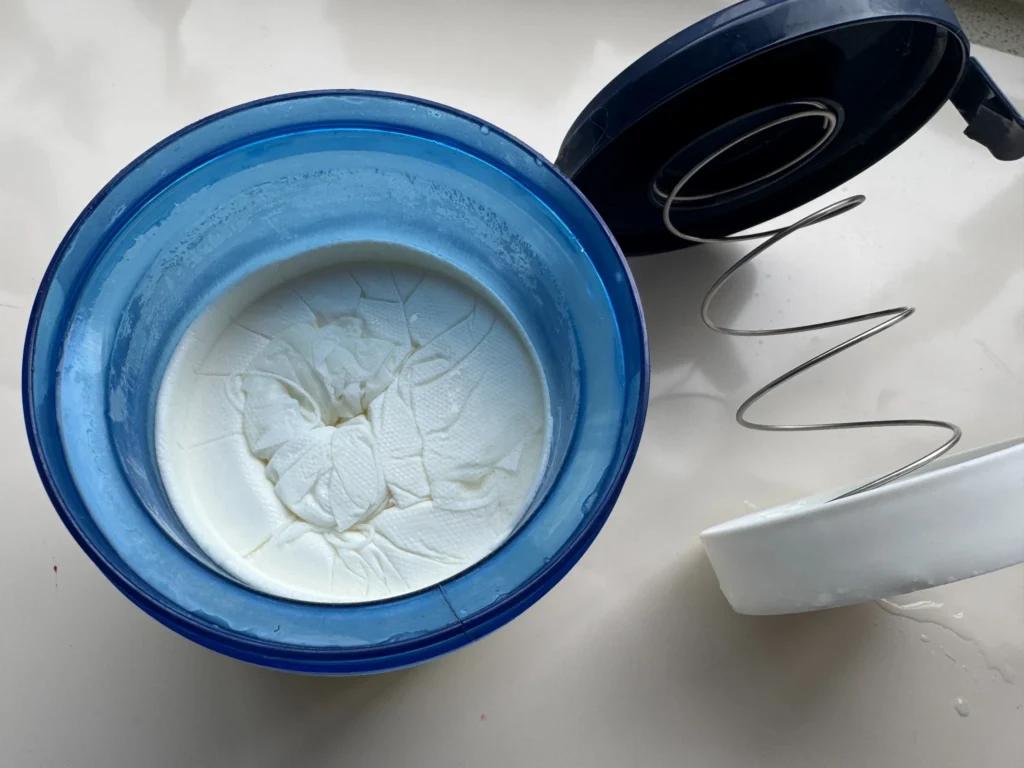
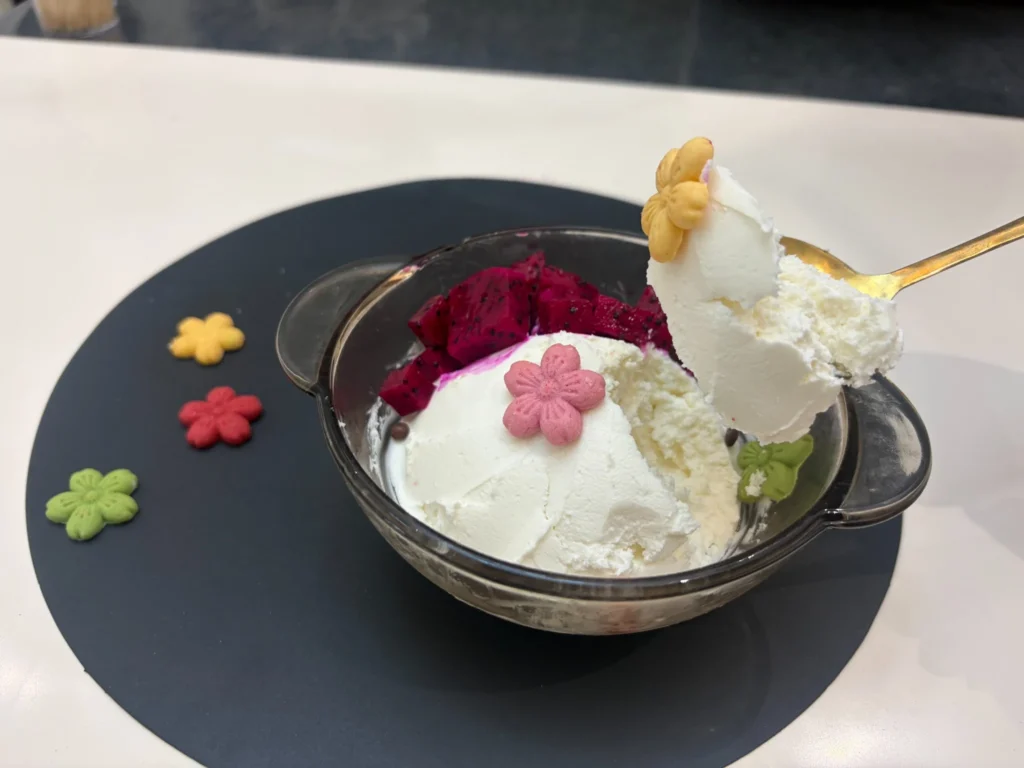
I share how I make mine, the extra ingredients I add, and how long I strain it in How to Make Greek Yogurt at Home.
Yogurt Didn’t Turn Out? Here’s What to Check
It’s normal for a first batch not to turn out exactly as you expected. Before writing off the whole batch, look at what’s happened: is it thin, unset, too sour, or noticeably grainy? Then it’s easier to work back through the steps and look for the cause.
The Yogurt Is Too Thin
Possible causes:
What I Would Do
The Yogurt Has Not Set at All
If the expected fermentation time is up and the yogurt still flows almost like milk, something probably went wrong earlier in the process. Here are the first things I would check:
Possible causes:
What I Would Do
The Yogurt Is Too Sour
Possible causes:
What I Would Do
The Yogurt Feels Grainy
If the texture is only slightly uneven and the batch otherwise fermented normally, I usually give it a gentle stir and see how the texture looks after chilling. If you notice a strong off smell, unusual bubbling, mold, or unusual discoloration, discard the batch instead.
Possible causes:
Any of these can affect how your homemade yogurt turns out.
How to Store Yogurt and Save Starter for the Next Batch
Once it’s ready, refrigerate the yogurt in a clean, sealed container. Use a clean spoon each time, and don’t put a spoon back in the jar after it’s been in your mouth. That helps keep food residue and unwanted microbes out. It’s a simple habit, but easy to forget when you’re eating.
If you’re planning another batch, set aside a few tablespoons of this basic yogurt in a separate clean container before adding fruit, jam, honey, or any other toppings or flavorings.
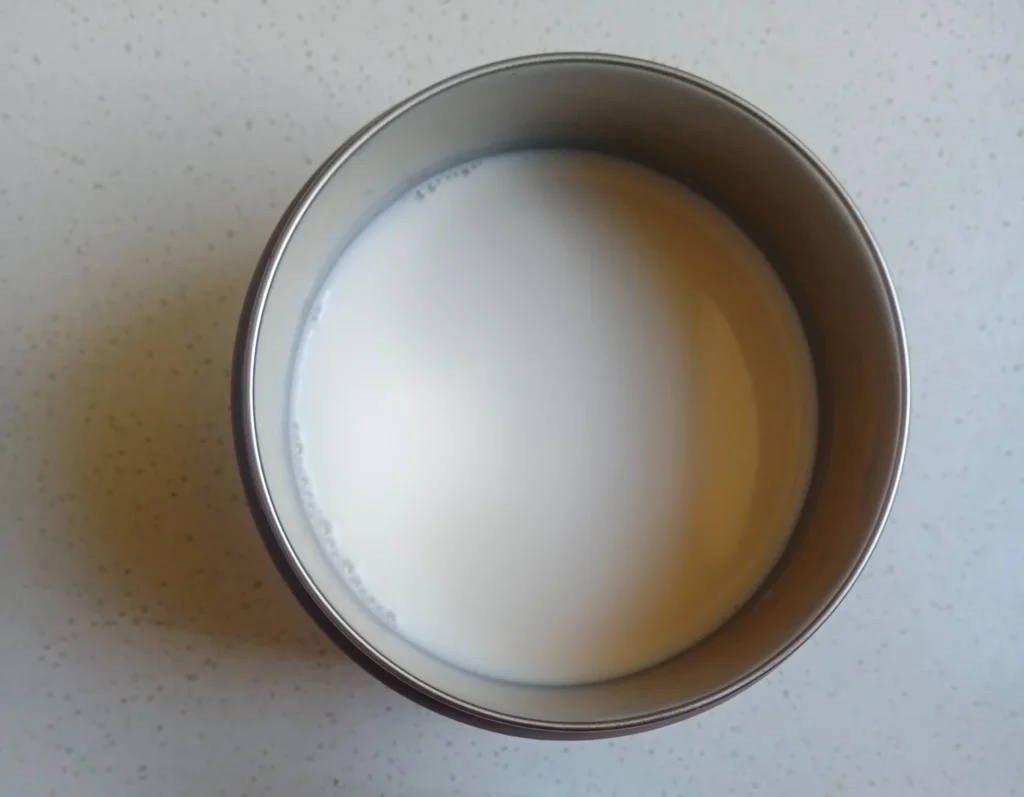
It’s easiest to do that as soon as this batch is ready, rather than remembering when you’re down to the last spoonful.
If a batch suddenly stops setting as well after several rounds, even though the temperature and method have not noticeably changed, consider starting with fresh plain yogurt with live cultures or opening a new packet of freeze-dried starter. After several batches, the cultures may not behave as consistently or be as active as they were at the start.
Once you’ve made that first batch, you’ll see that making yogurt at home isn’t as much trouble as it seemed at the start.
The next time, you’ll have a much better feel for it. How much sugar to add and when to stop fermenting will be easier to judge, and the flavor and texture will get closer to what you like.