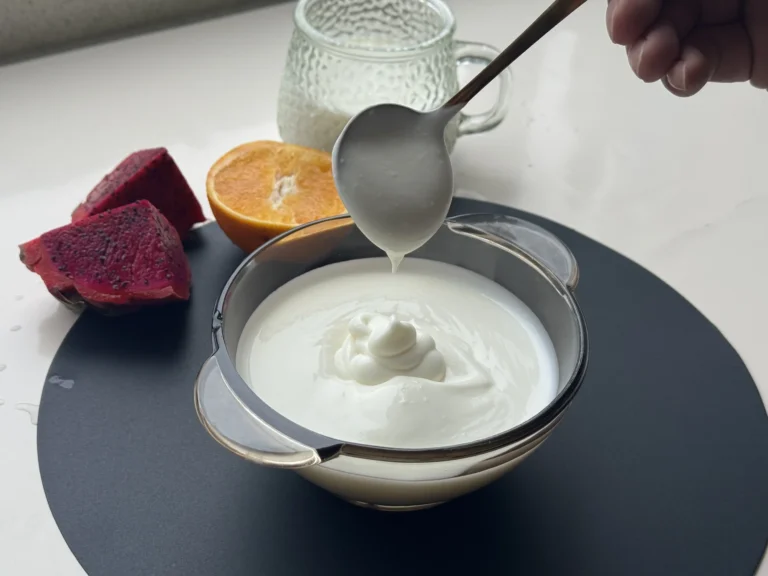
How to Make Greek Yogurt at Home
We may earn a commission from affiliate links to products on this page, at no additional cost to you. Learn more
My family and I love Greek yogurt with a rich milky flavor and a full, creamy taste, without the tang taking over. But once I started making it myself, I realized that getting the texture and flavor we liked wasn’t quite as easy as I had imagined.
I watched quite a few videos on how to make Greek yogurt at home and tried a lot of different methods myself. A few batches didn’t turn out the way I wanted, so I kept adjusting things as I went until I gradually worked out a method that’s easier to manage at home and gives me more consistent results.
Making Greek yogurt at home really isn’t as complicated as it may seem. The early part is very similar to making regular yogurt; the real difference comes later, when you strain it.
With my version, I add a little whole milk powder, heavy cream, and sugar when I make the plain yogurt, then strain off some of the whey after fermentation. That gives the yogurt a thicker texture and a richer, fuller taste. If you’re not familiar with the first part yet, you can start with my How to Make Homemade Yogurt guide.
What You Need to Make Greek Yogurt
Here’s the basic version, the version I usually make, and the tools you’ll need.
Ingredients
|
Ingredient |
Basic Version |
My Usual Version |
|---|---|---|
|
Pasteurized whole milk |
1 liter |
1 liter |
|
Starter |
3–4 tablespoons plain unsweetened yogurt with live cultures, or freeze-dried starter used according to package directions |
Plain unsweetened yogurt with live cultures, or freeze-dried starter used according to package directions |
|
Whole milk powder |
None |
150 g |
|
Sugar |
Optional |
I usually use 70 g, but you can adjust it to taste |
|
Heavy cream |
Optional |
60 g |
Tools
A heavy-bottomed saucepan, a whisk, clean containers, an instant-read thermometer, a fine-weave cloth, and a Greek yogurt strainer.
💡 I use 150 grams of whole milk powder and 60 grams of heavy cream because I like a fuller, richer milk flavor. For me, it gives the finished yogurt a richer taste and keeps the tang from feeling quite as pronounced.
Seventy grams of sugar is simply the sweetness I like; it isn’t a number everyone needs to follow. If you prefer plain yogurt, you can leave it out, and if you’re not sure how sweet you want it, start with less.
If you don’t have a kitchen scale, you can estimate the amounts using the weight listed on the package. You can adjust the milk powder and sugar, but the amount of starter is something to handle separately rather than treating every ingredient as something you can simply add by feel.
What Kind of Milk Should You Use?
For a first batch, I recommend starting with regular pasteurized whole milk because it gives the yogurt a fuller texture. You can also make Greek yogurt with 2% or nonfat milk, although the finished texture and mouthfeel will usually be lighter.
How to Choose a Starter
If you already have fresh, plain unsweetened yogurt with live cultures at home, you can use that as your starter.
Save fruit-flavored, vanilla, and heavily flavored yogurts for eating rather than using them for this first batch.
When I want the amount to be more consistent from batch to batch, I personally prefer freeze-dried starter because the portions are clearer and it’s easy to store.
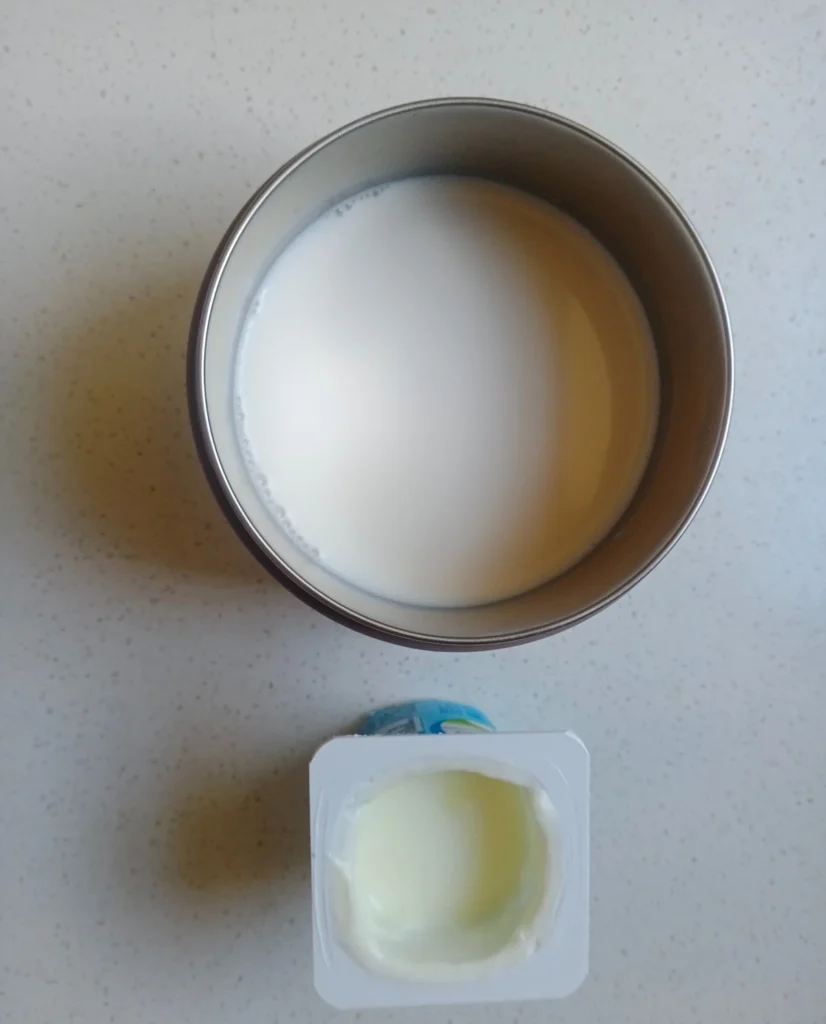
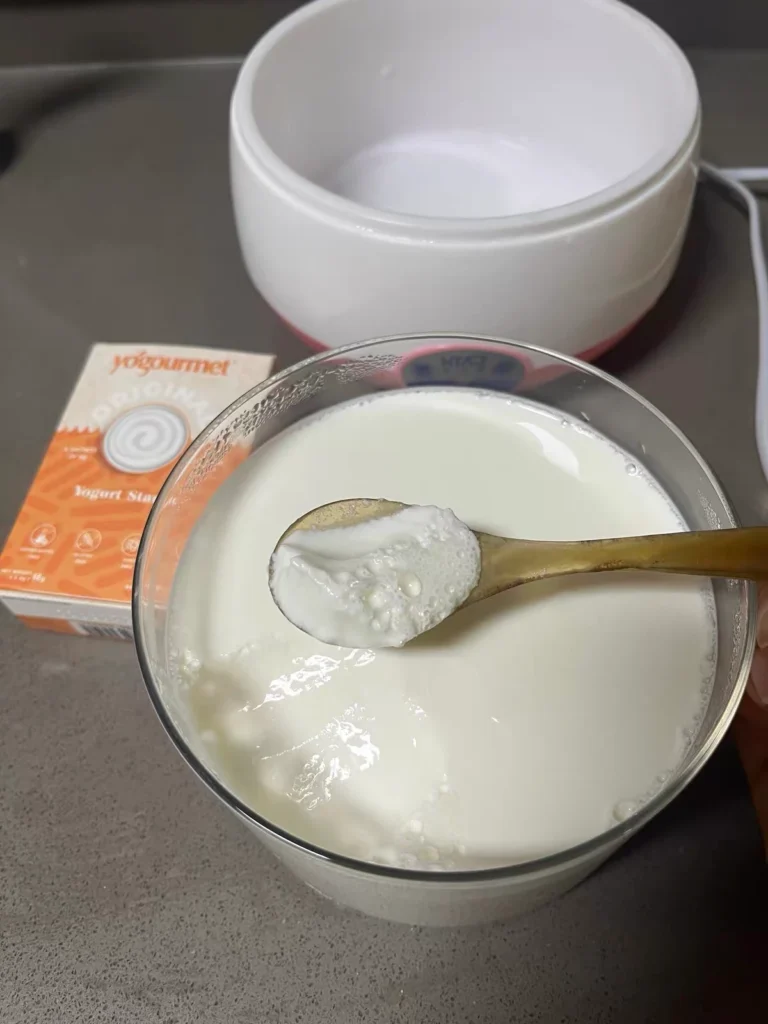
What Greek yogurt is made of really isn’t complicated: milk, live cultures, and some of the whey that gets strained out later.
Start With the Tools You Already Have
You’ll need a saucepan, a stirring spoon, a tablespoon, clean fermentation containers, and an instant-read thermometer.
For straining, you’ll need a fine-mesh strainer, a deep bowl to catch the whey, and either cheesecloth or a clean, finely woven cloth.
If you already have those at home, that’s enough to get started. I also use a yogurt strainer with a spring and press plate when I want a thicker result.
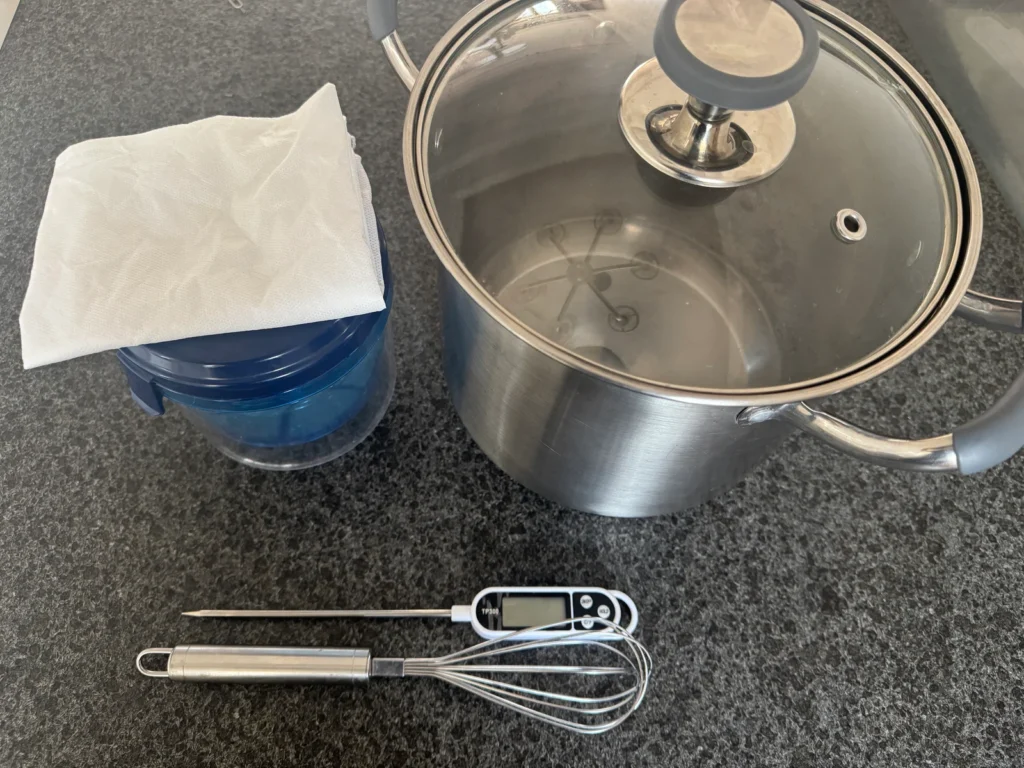
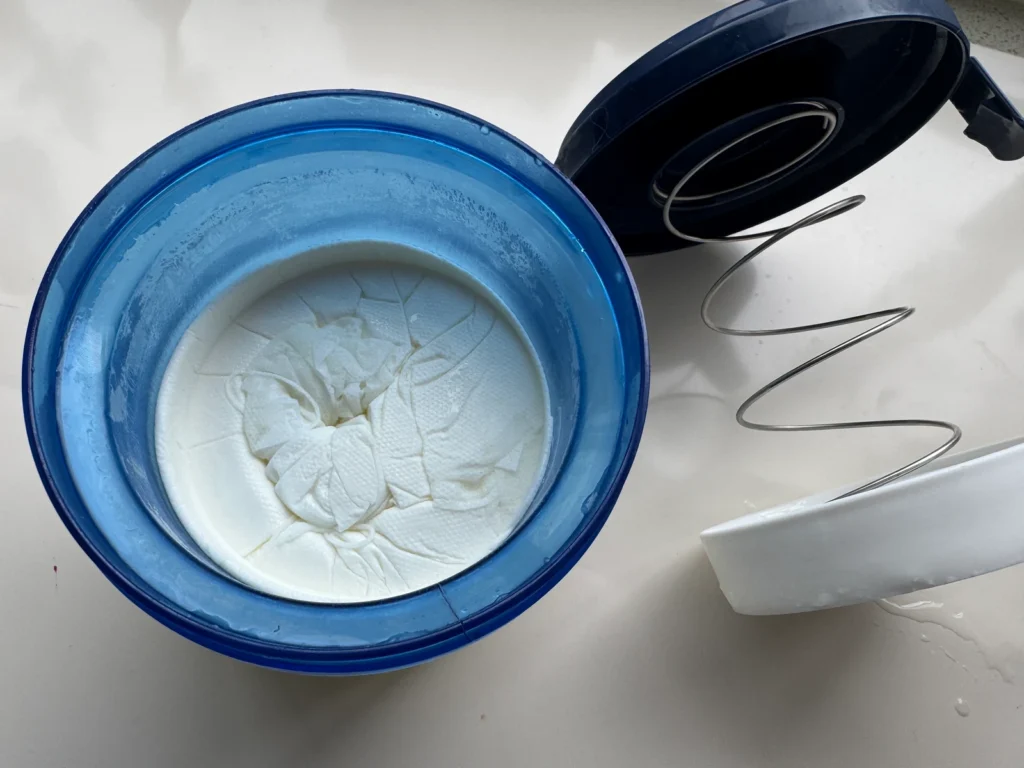
How to Make Greek Yogurt at Home
Before you begin, wash the saucepan, stirring tools, spoons, and containers thoroughly. I also like to rinse any heat-safe tools with boiling water to help reduce the chance of unwanted microbes getting into the milk.
The early fermentation steps for regular yogurt and Greek yogurt are almost the same: heat the milk, let it cool, add the starter, and then keep it warm while it ferments.
What really turns regular yogurt into Greek yogurt is the straining that comes later.
So a homemade Greek yogurt recipe can be summed up pretty simply: make the basic yogurt first, then strain it until it reaches the thickness you like.
Step 1: Gently Heat the Milk
For my version, I add 150 grams of whole milk powder, 60 grams of heavy cream, and 70 grams of sugar to one liter of milk, mix everything well, and heat it together.
One important tip: make sure everything is thoroughly mixed and dissolved before the milk gets hot.
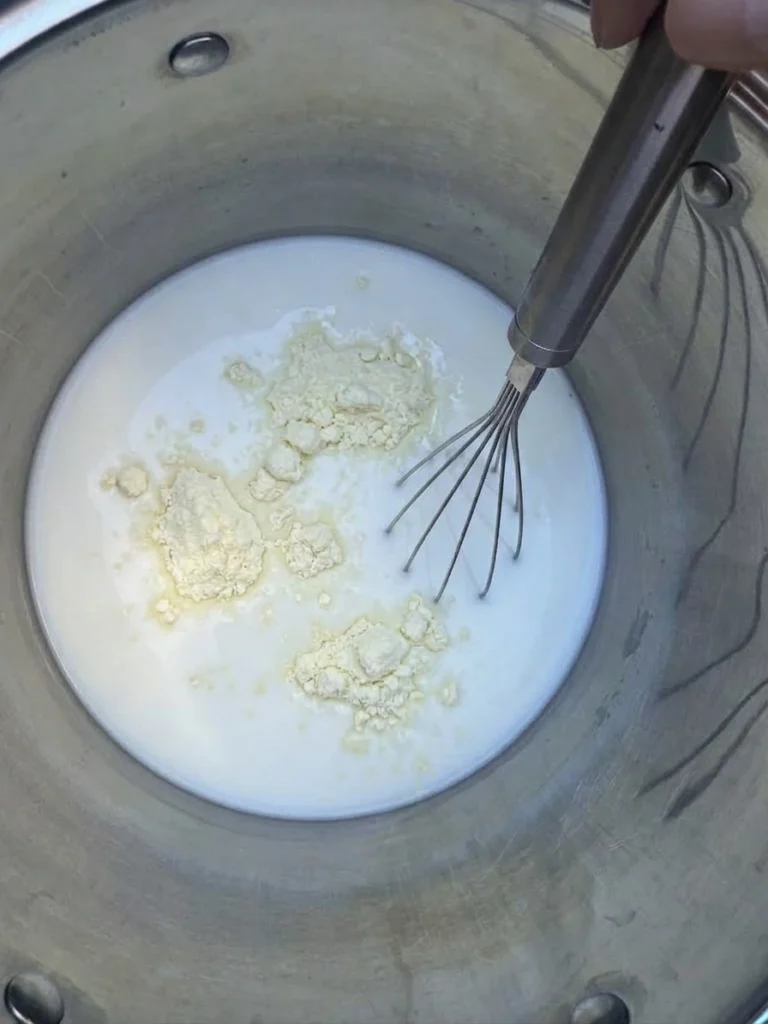
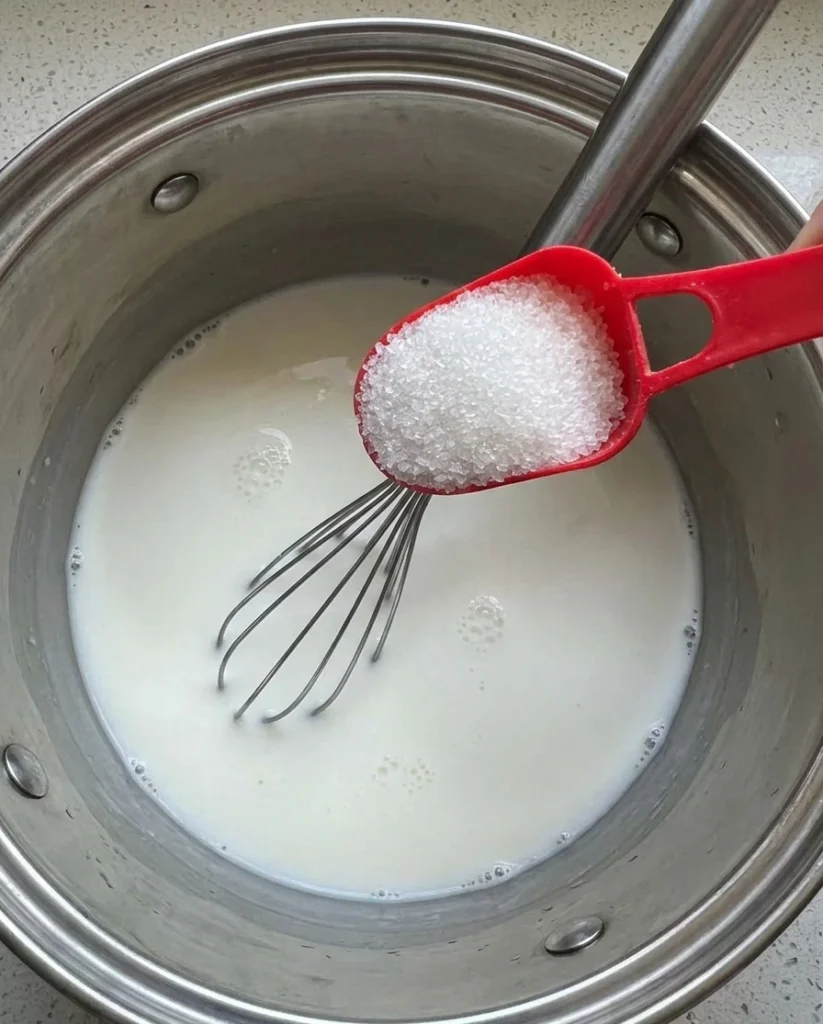
Heat the mixture slowly over medium-low heat until it reaches about 185°F (85°C).
Stir gently along the bottom and around the edges as it heats instead of watching the thermometer and forgetting about the bottom of the pan.
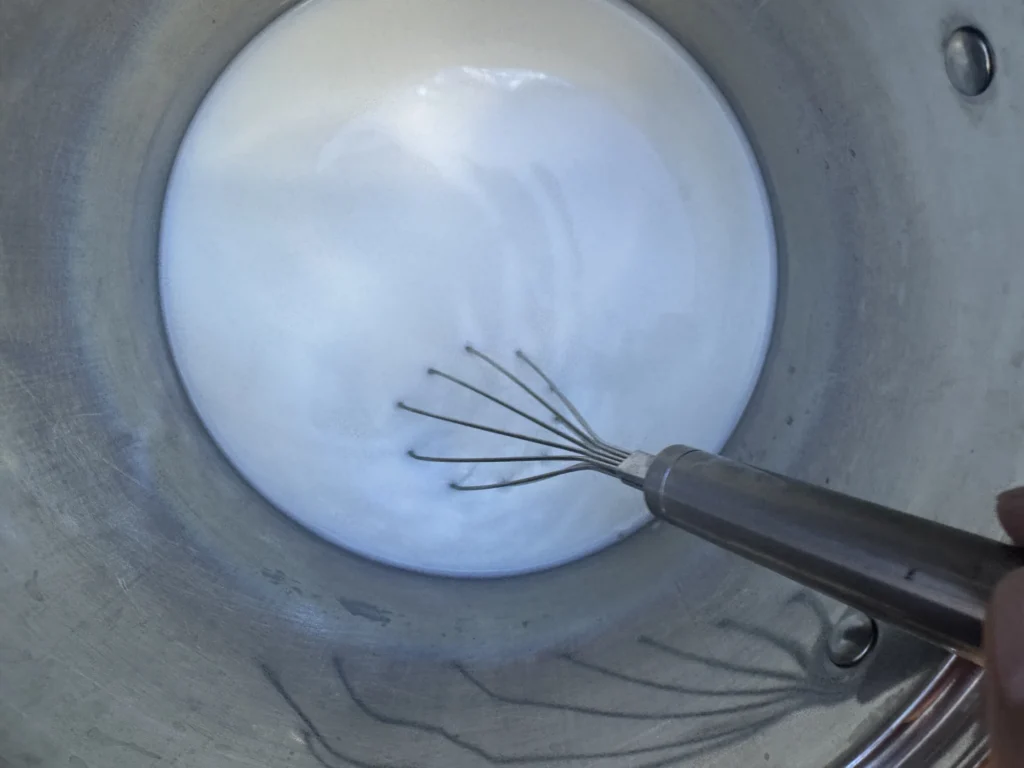
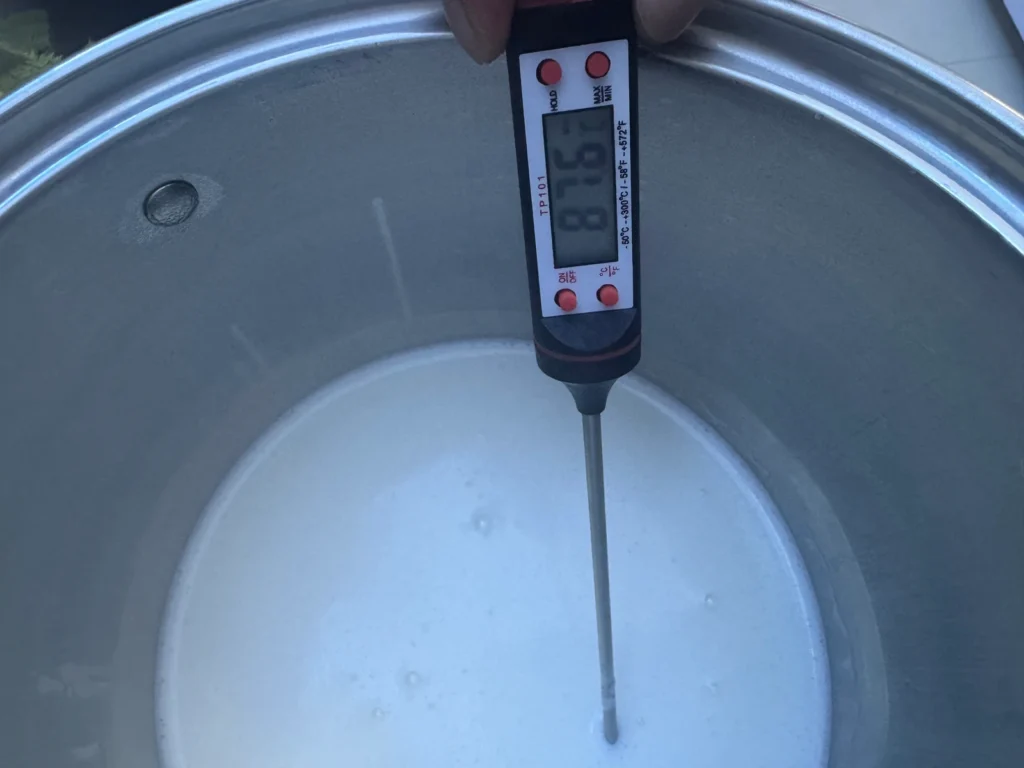
When I first started making it, I kept scorching the bottom. Eventually I realized the stainless-steel saucepan I was using had a very thin bottom.
Thankfully, after some effort, I got it clean again.
I really do recommend using a heavy-bottomed saucepan.
For a first batch, I still recommend using a thermometer. The tiny bubbles around the edge and the steam rising from the surface can give you a rough idea, but they can’t tell you the actual temperature as accurately as a thermometer can.
Step 2: Let the Milk Cool Before Adding the Starter
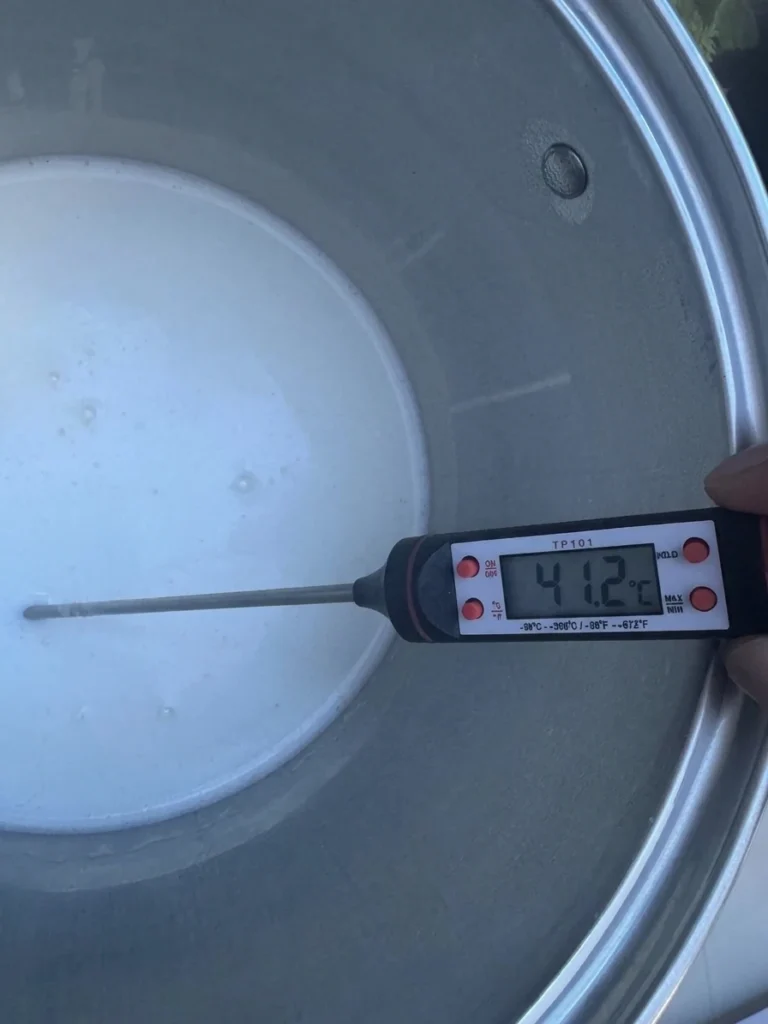
Turn off the heat and let the milk cool to about 110°F (43°C).
If you want to speed things up, you can set the saucepan in a cold-water bath.
Take it out as you get close to the target temperature so you don’t accidentally cool it too far.
Don’t rush this part.
You heated the milk first; now you’re waiting for it to cool to a temperature that’s suitable for adding the starter. “Warm but not hot” can only give you a rough sense of the temperature, so measuring it is more reassuring the first time.
If the temperature is too low, fermentation can slow down considerably, and the yogurt may not set properly within the expected time.
Step 3: Mix In the Starter
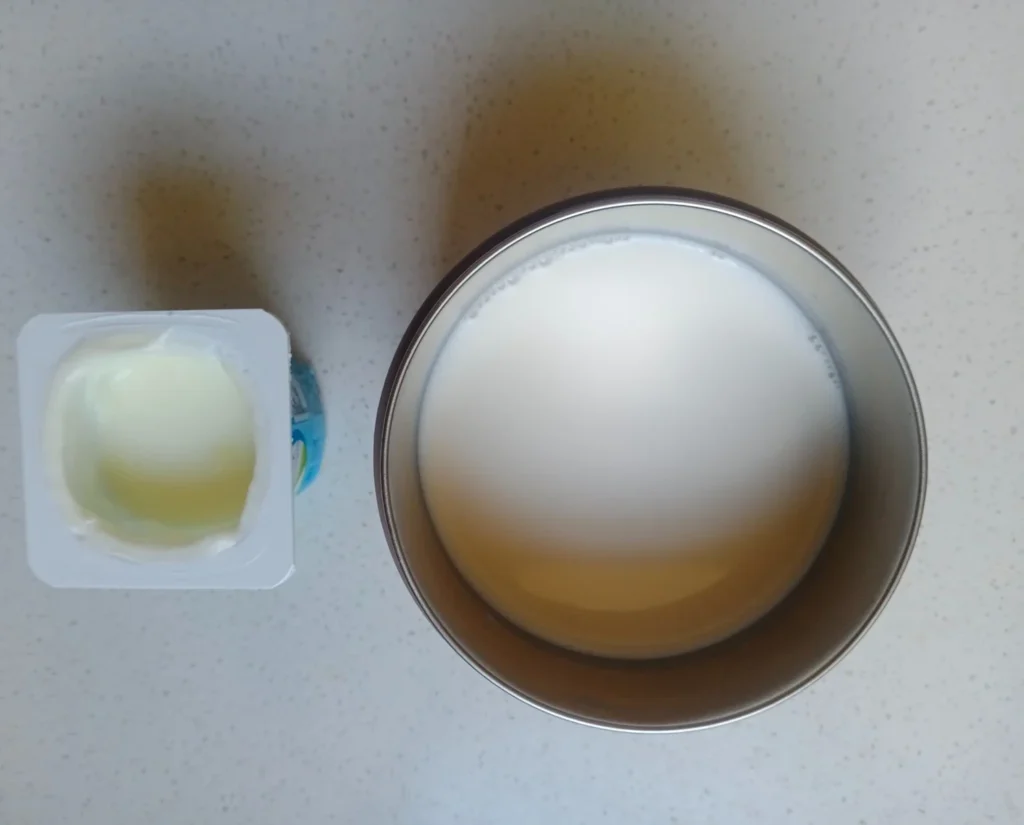
If you’re using plain yogurt as the starter, put 3–4 tablespoons in a small bowl first, then add a little of the warm milk and stir until smooth.
Pour that mixture back into the saucepan and stir gently to combine.
This mixes in more easily than dropping a cold spoonful of yogurt straight into the milk, and it also helps prevent little lumps.
If you’re using freeze-dried starter, follow the package directions and mix it thoroughly into the milk.
The starter I use comes in single-use packets, so I use one packet per batch.
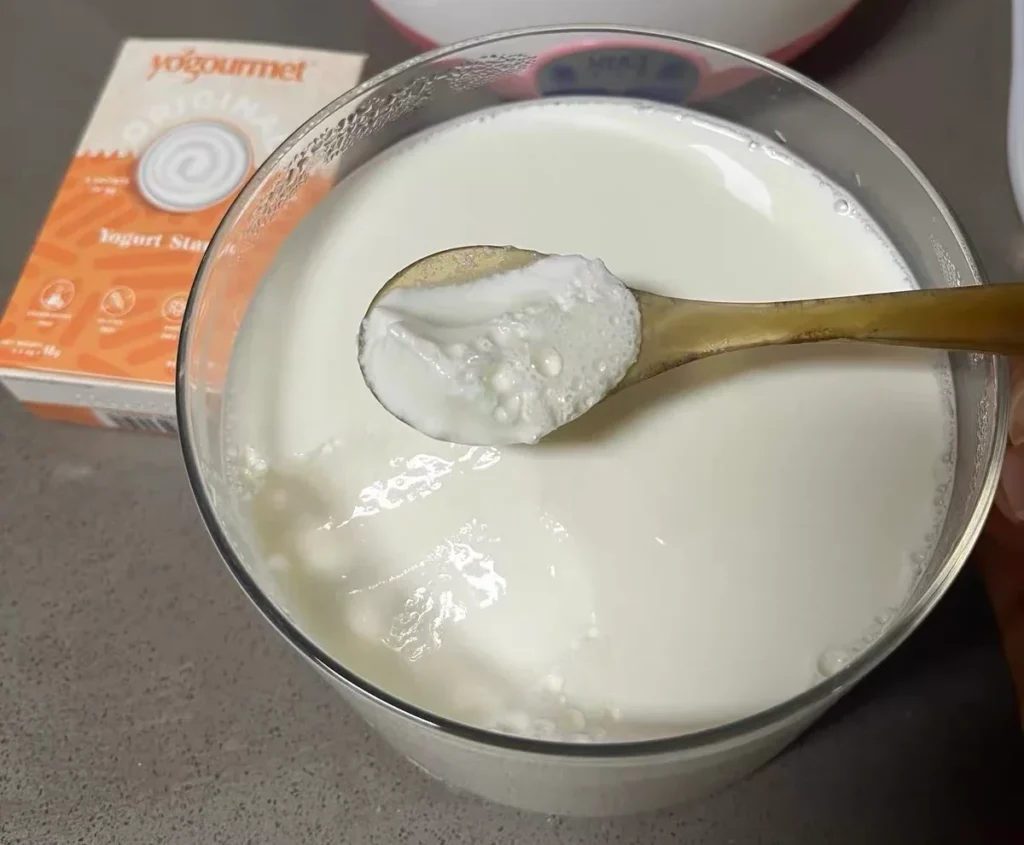
Step 4: Keep It Warm and Try Not to Disturb It
Pour the milk mixture into clean glass jars or another clean fermentation container.
Before filling the jars, I usually run the mixture quickly through a fine-mesh strainer to catch any bits that haven’t completely dissolved or anything floating on the surface. I find that this gives the finished yogurt a finer, smoother texture.
I also skim off the little bubbles on top because I like the surface of the yogurt to look smoother. I’m not a perfectionist, but I like it this way.
Put the lids on, and at this point there really isn’t much left to do—just find a warm place and try not to disturb the jars.
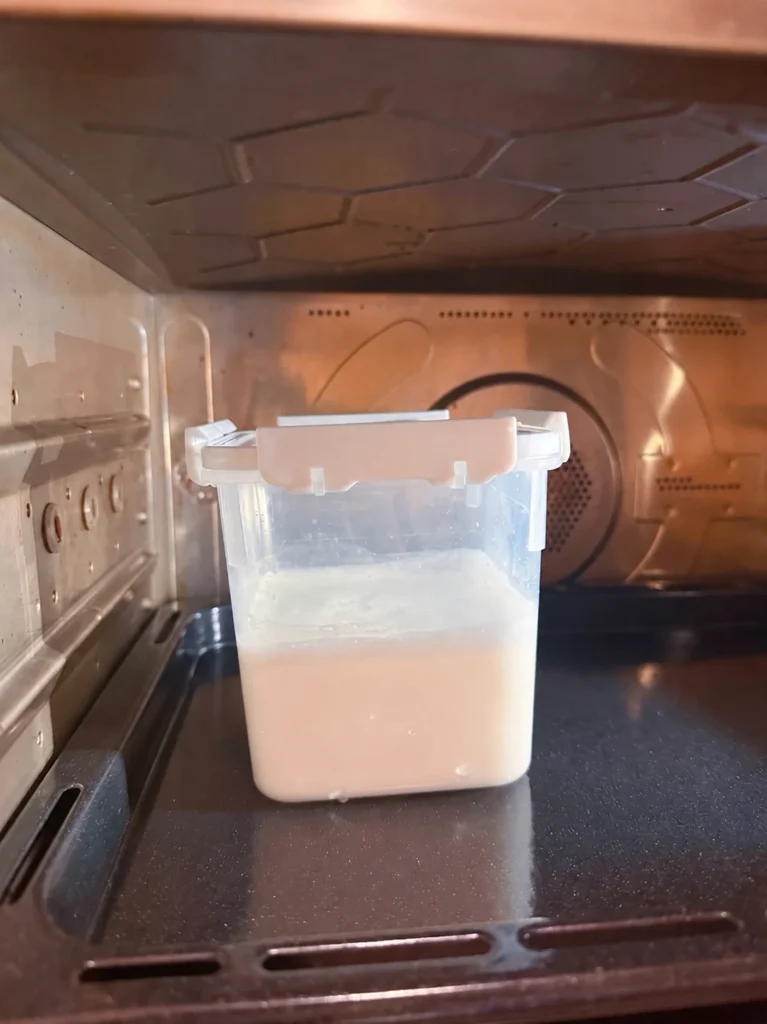
My usual method is to put the jars in the oven with the heat turned off and only the oven light on. If the oven runs a little cool, I wrap the jars in clean towels before putting them in.
Oven temperatures really aren’t all that steady, though, and the difference from one oven to another can be surprisingly large.
Later, a friend gave me a multifunction electric pressure cooker, and I was pretty excited when I discovered that it had a Yogurt setting.
I tried it and really liked the results because the temperature stayed more stable, and my favorite part was how much easier it made the fermentation step.
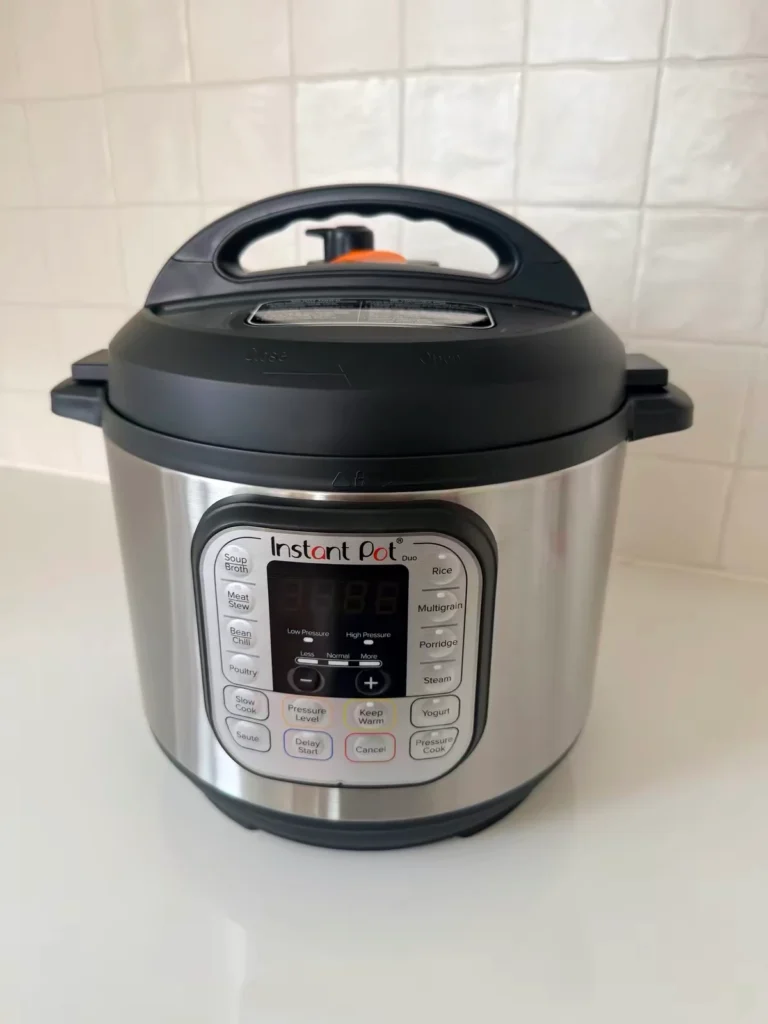
Electric Multicooker with Yogurt Setting
For everyday cooking and homemade yogurt.
I keep the incubation environment at around 104–110°F (40–43°C) and usually start with about 7–8 hours of fermentation. I personally like the flavor at around the eight-hour mark.
But the starter, room temperature, and the way you keep the yogurt warm can all vary, so I don’t treat that timing as a fixed rule for every batch.
Step 5: Once It Has Set, Chill It Completely
Once the basic yogurt has set, I put it in the refrigerator and let it chill completely before I start straining.
The structure is firmer after chilling, which makes the next step easier to handle.
Strain Off the Whey Until the Yogurt Is as Thick as You Like
Start With a Fine-Mesh Strainer and Cloth
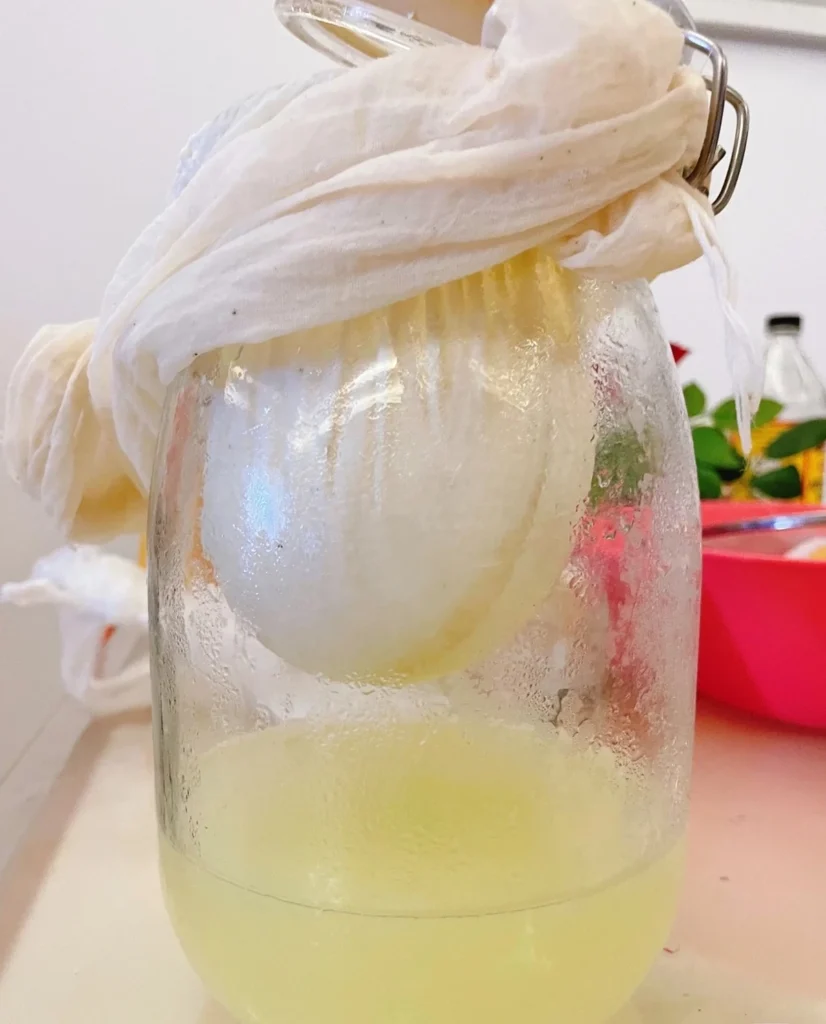
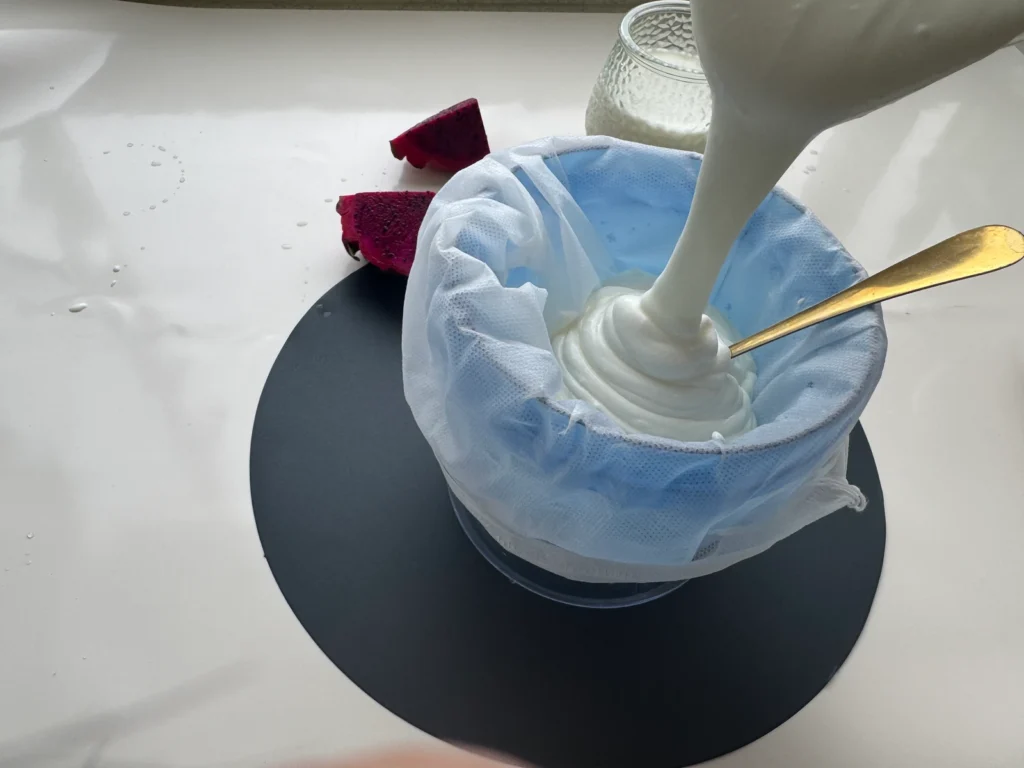
Set the cheesecloth or finely woven cloth over a deep bowl or glass, then add the chilled yogurt.
Leave enough room underneath to collect the whey, and make sure the bottom isn’t sitting in the liquid that has already drained out.
Otherwise, as more whey drains out, the yogurt can end up sitting back in it.
Fold the cloth over the yogurt and put the whole setup in the refrigerator to strain.
If you only make it occasionally, the cloth you already have at home is enough.
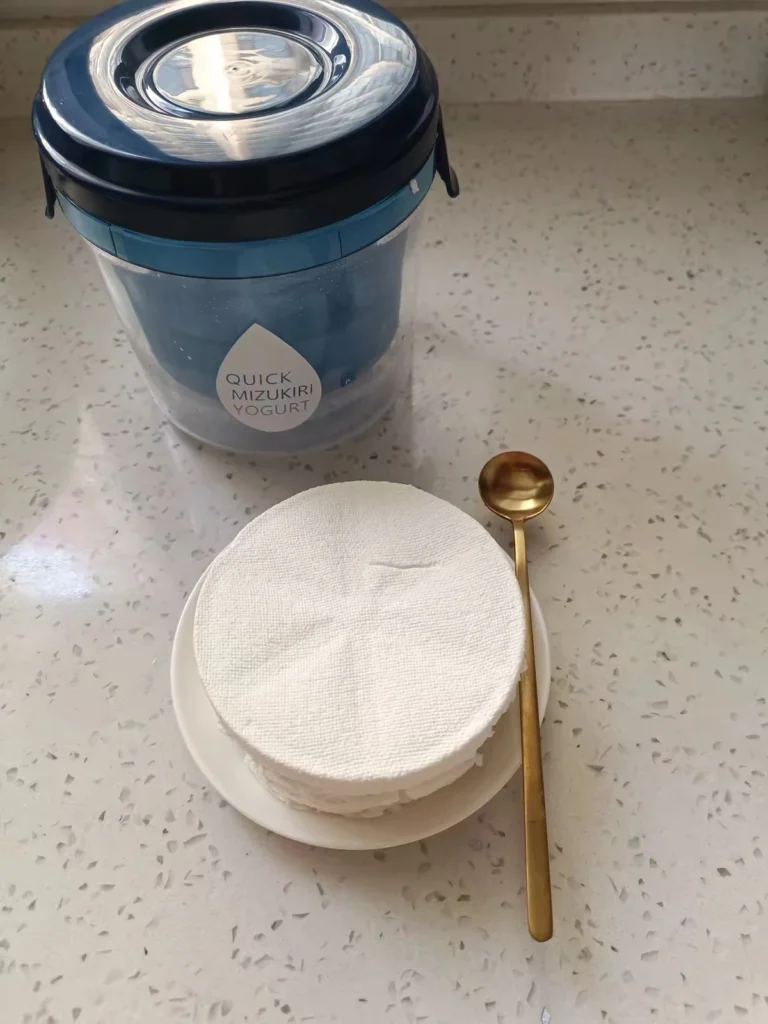
For an Extra-Thick Texture, I Use a Dedicated Yogurt Strainer
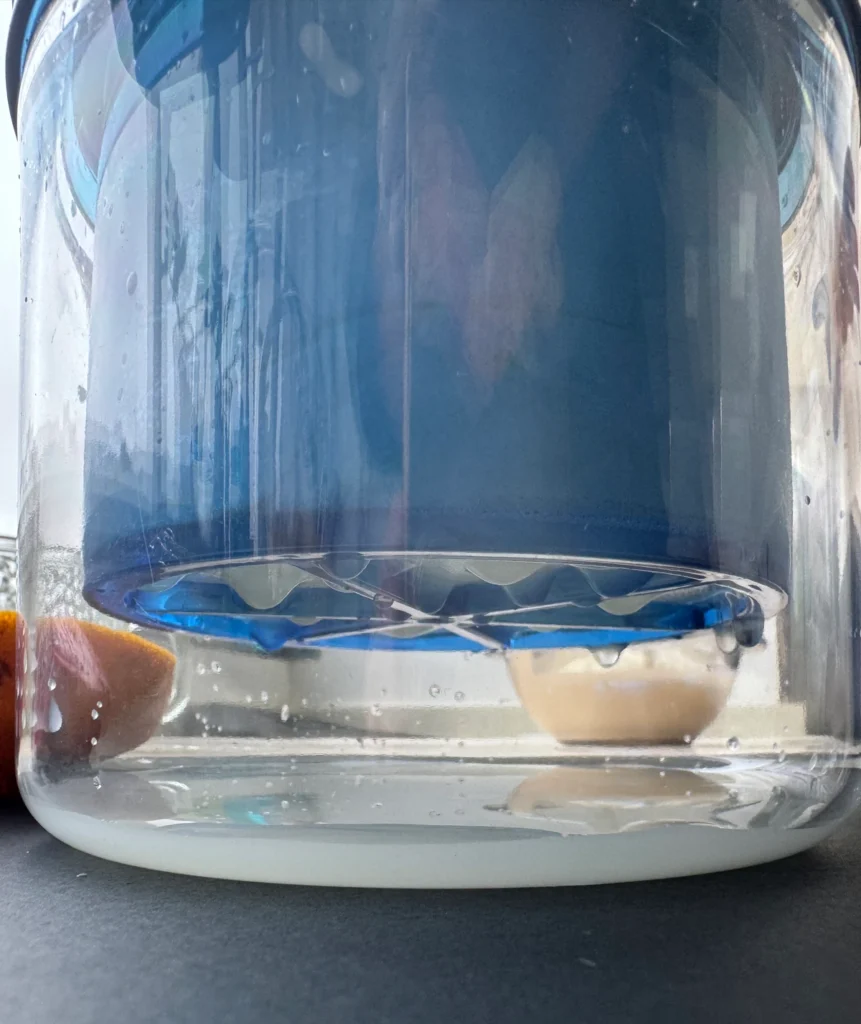
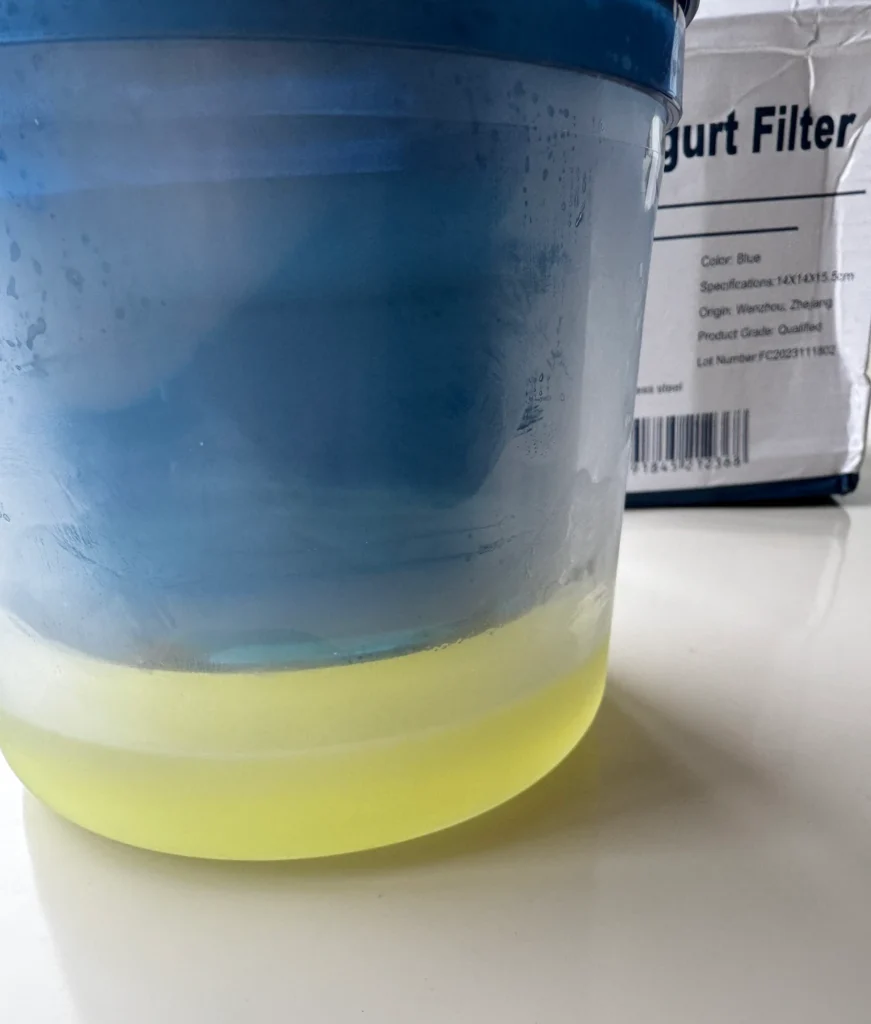
The yogurt strainer I use has a spring and press plate that can push out even more whey.
I really like the thicker texture it gives me, so this is what I reach for when I want the yogurt especially thick.
Greek Yogurt Strainer
For an extra-thick, firmer texture.
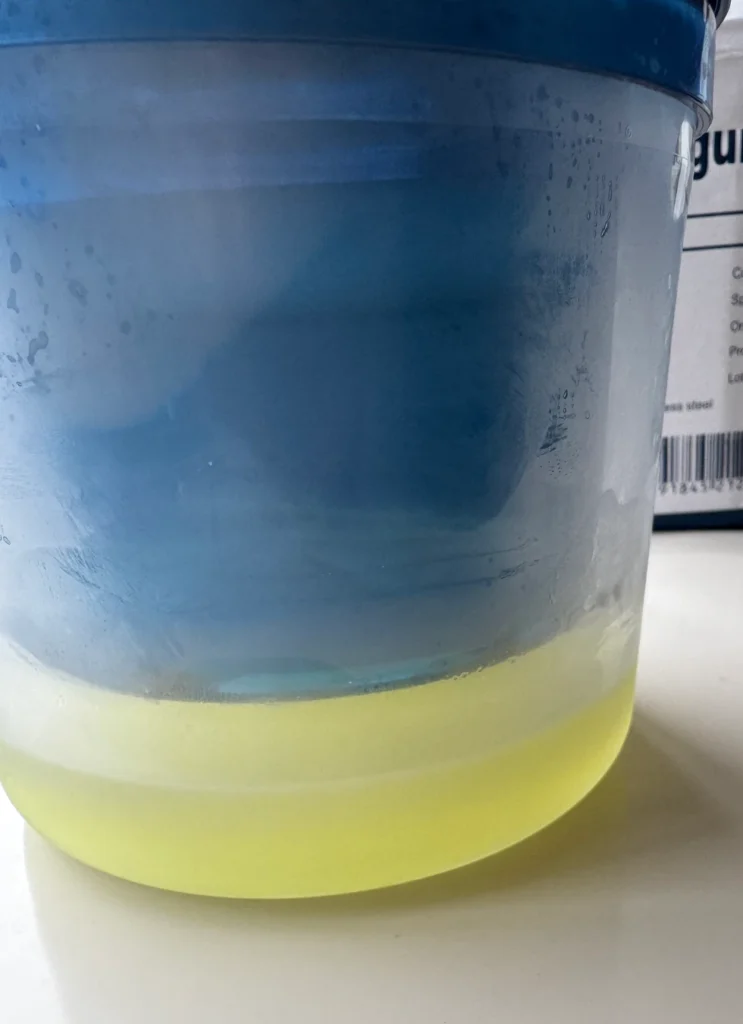
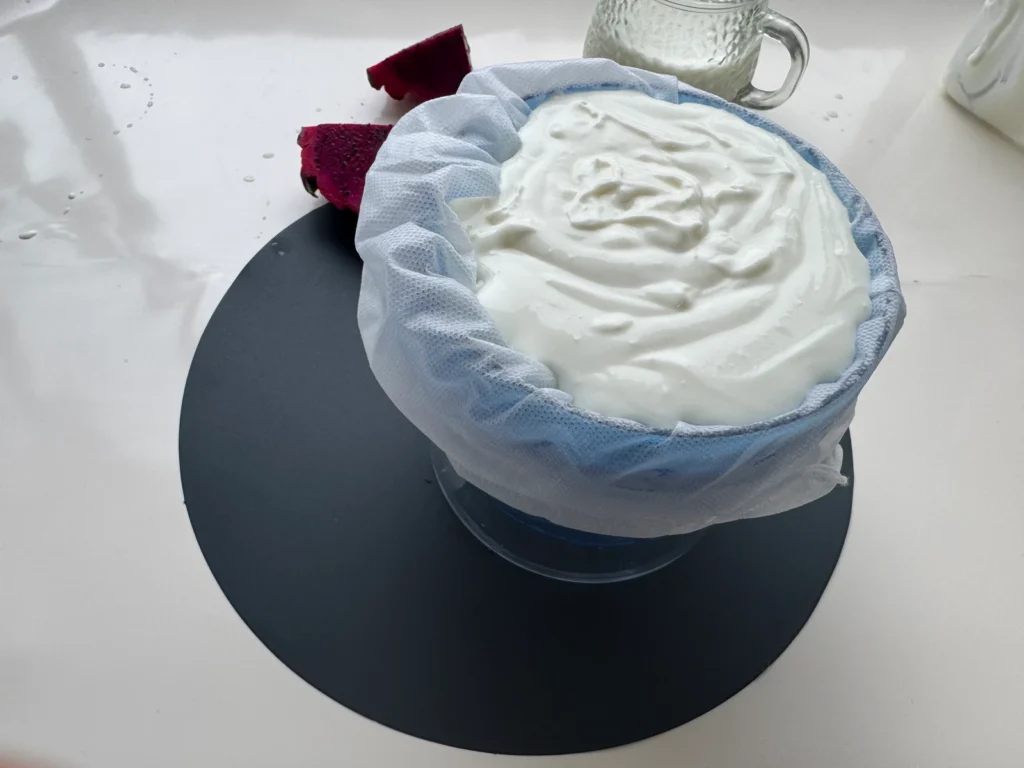
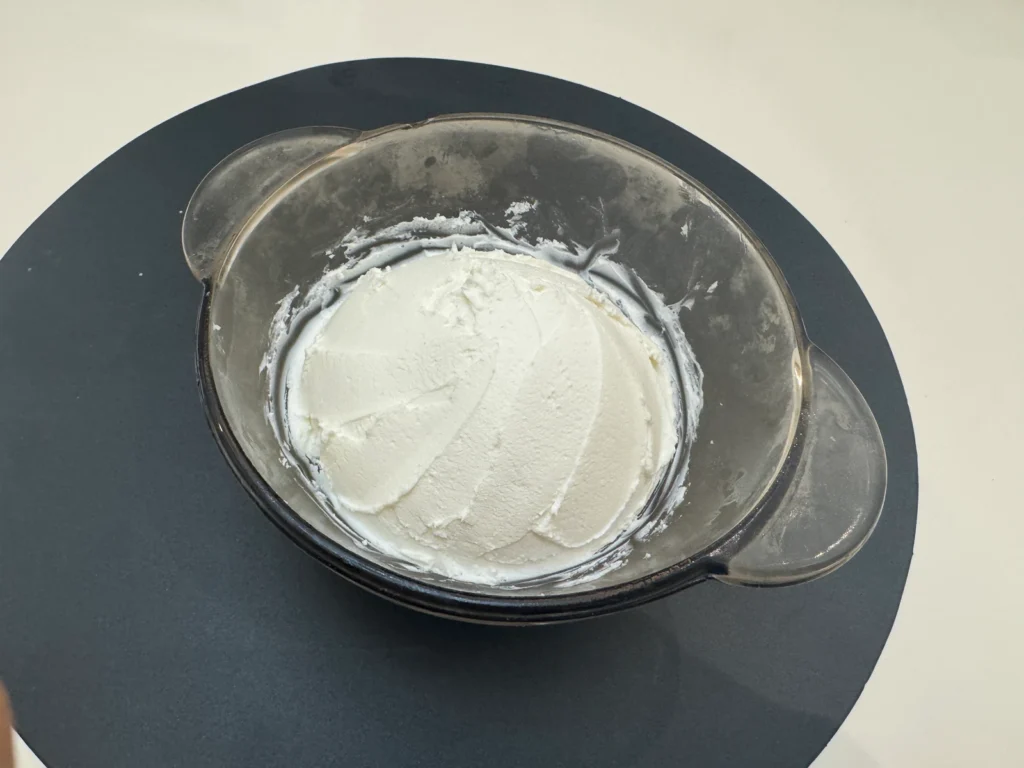
Here’s how I use it.
How Long Should You Strain Greek Yogurt?
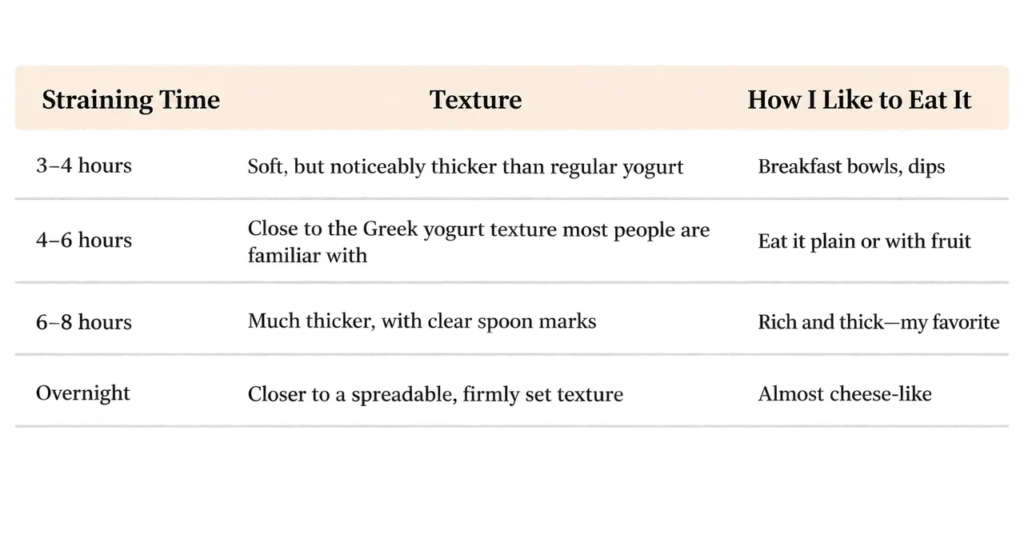
With a regular cloth straining setup, it usually takes about 15–18 hours to get the really thick texture I like. A dedicated strainer with a spring and press plate works much faster.
The table below is the rough timing I use with my dedicated strainer.
Don’t squeeze the cloth hard at the beginning. Let gravity do the work slowly; the texture usually comes out smoother that way.
I usually give it a stir after about two hours so it strains more evenly.
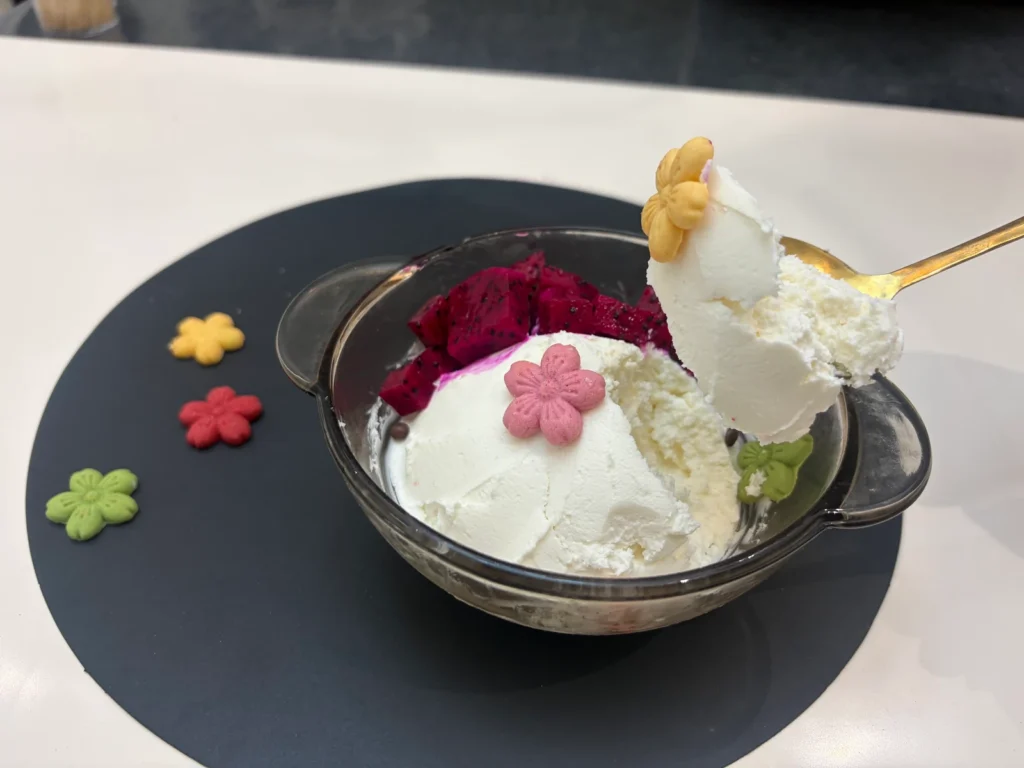
Okay, let’s dig in.
So, is Greek yogurt supposed to be thick? My answer is that it’s usually thicker than regular yogurt. How thick you make it really comes down to the texture you like and how you plan to eat it. The longer you strain it, the less homemade Greek yogurt you’ll have left in the end.
Greek Yogurt Too Sour, Too Thin, or Grainy? Here’s What to Check
Should Greek Yogurt Taste Sour?
A little tang is completely normal. The longer it ferments, the more noticeable that sour flavor usually becomes. I like adding a little sugar to my own recipe mainly because I prefer a more balanced mix of sweetness and tang.
Why Is There Liquid on Top?
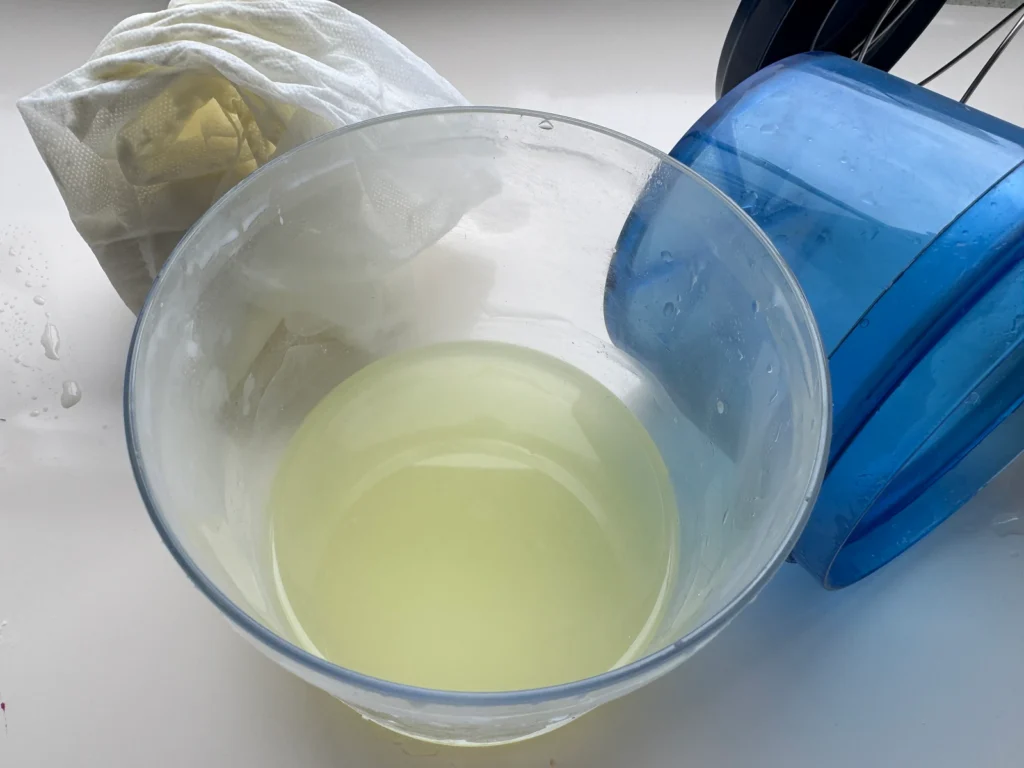
A small amount of clear or pale-yellow liquid on top is usually whey. If you prefer a softer texture, you can stir it back in. If you want the yogurt thicker, you can pour it off or keep straining. It really depends on the texture you’re after.
Should Greek Yogurt Have Lumps? What If It’s a Little Grainy?
If the texture is only slightly uneven, you can gently stir it and see how it looks.
If there are a lot of grains or lumps, next time check whether the milk heated too quickly, whether it was still too hot when you added the starter, or whether you squeezed too hard during straining.
Don’t automatically solve graininess by straining it longer. The point here is to figure out which earlier step affected the texture.
What If It’s Still Too Thin After Straining?
If the basic yogurt set normally and has been chilled completely, but the texture still isn’t as thick as you want, keep straining it a little longer and check the texture again.
When Should You Throw It Out?
If you see mold, pink or green discoloration, notice a clearly unpleasant smell, or the yogurt looks completely different from normal yogurt, throw it away.
At this point, your batch of Greek yogurt is done.
Once you’ve made it the first time, you’ll see that making Greek yogurt at home really isn’t as much work as it may seem: turn the milk into yogurt first, then strain it until it’s as thick as you like.
That’s really all there is to it.